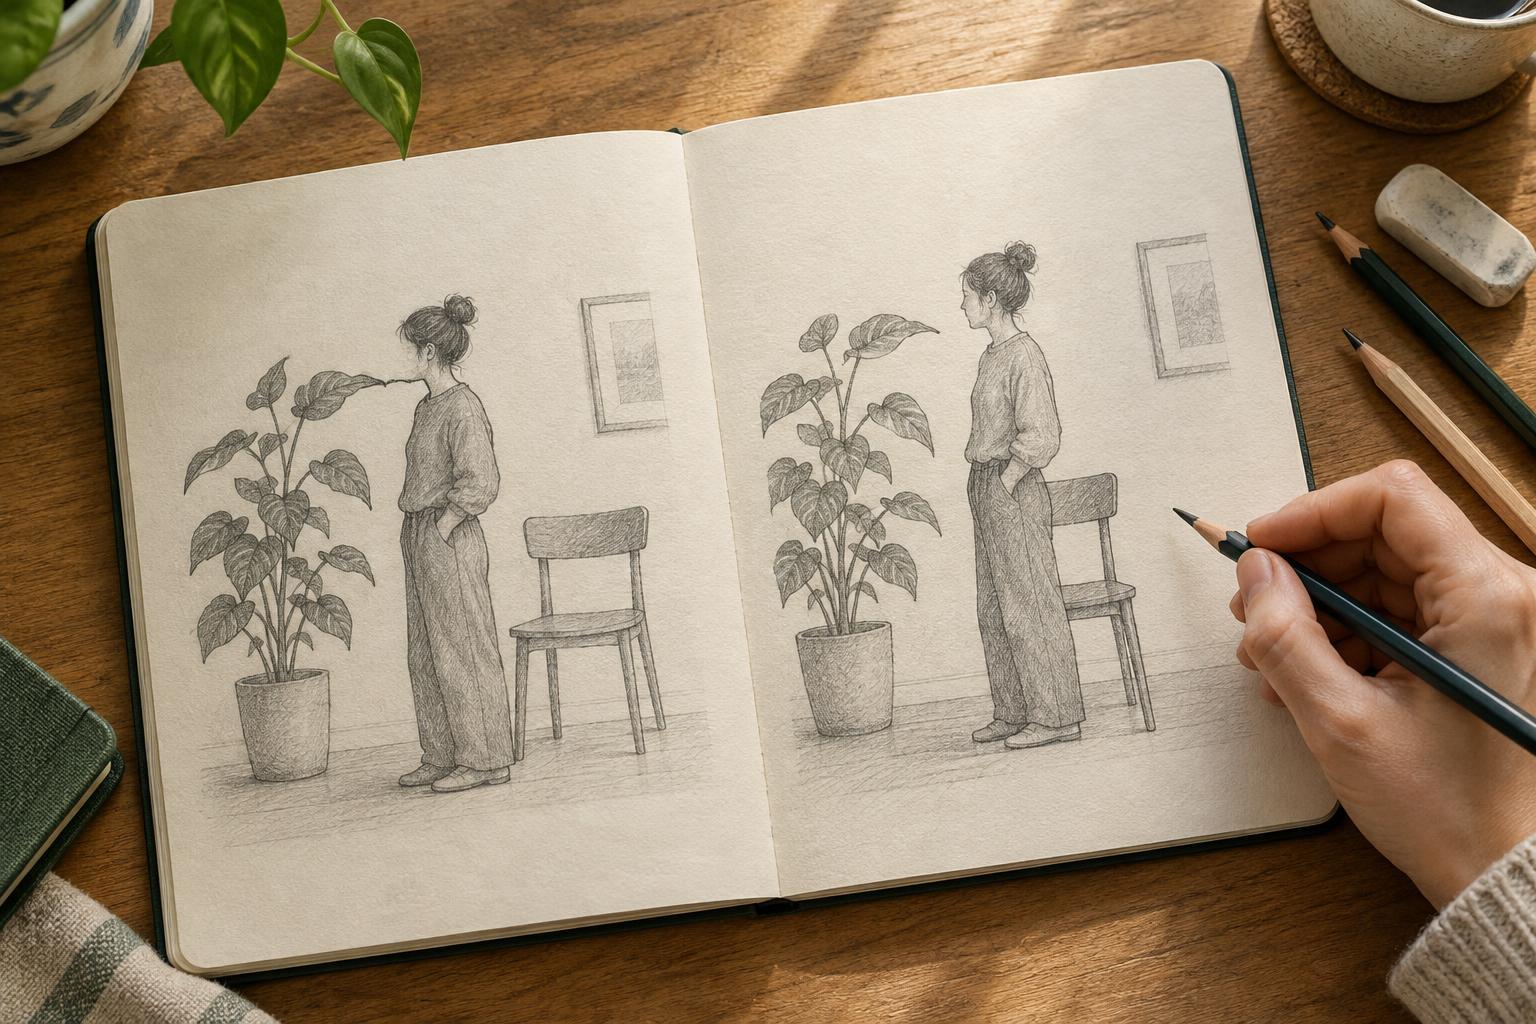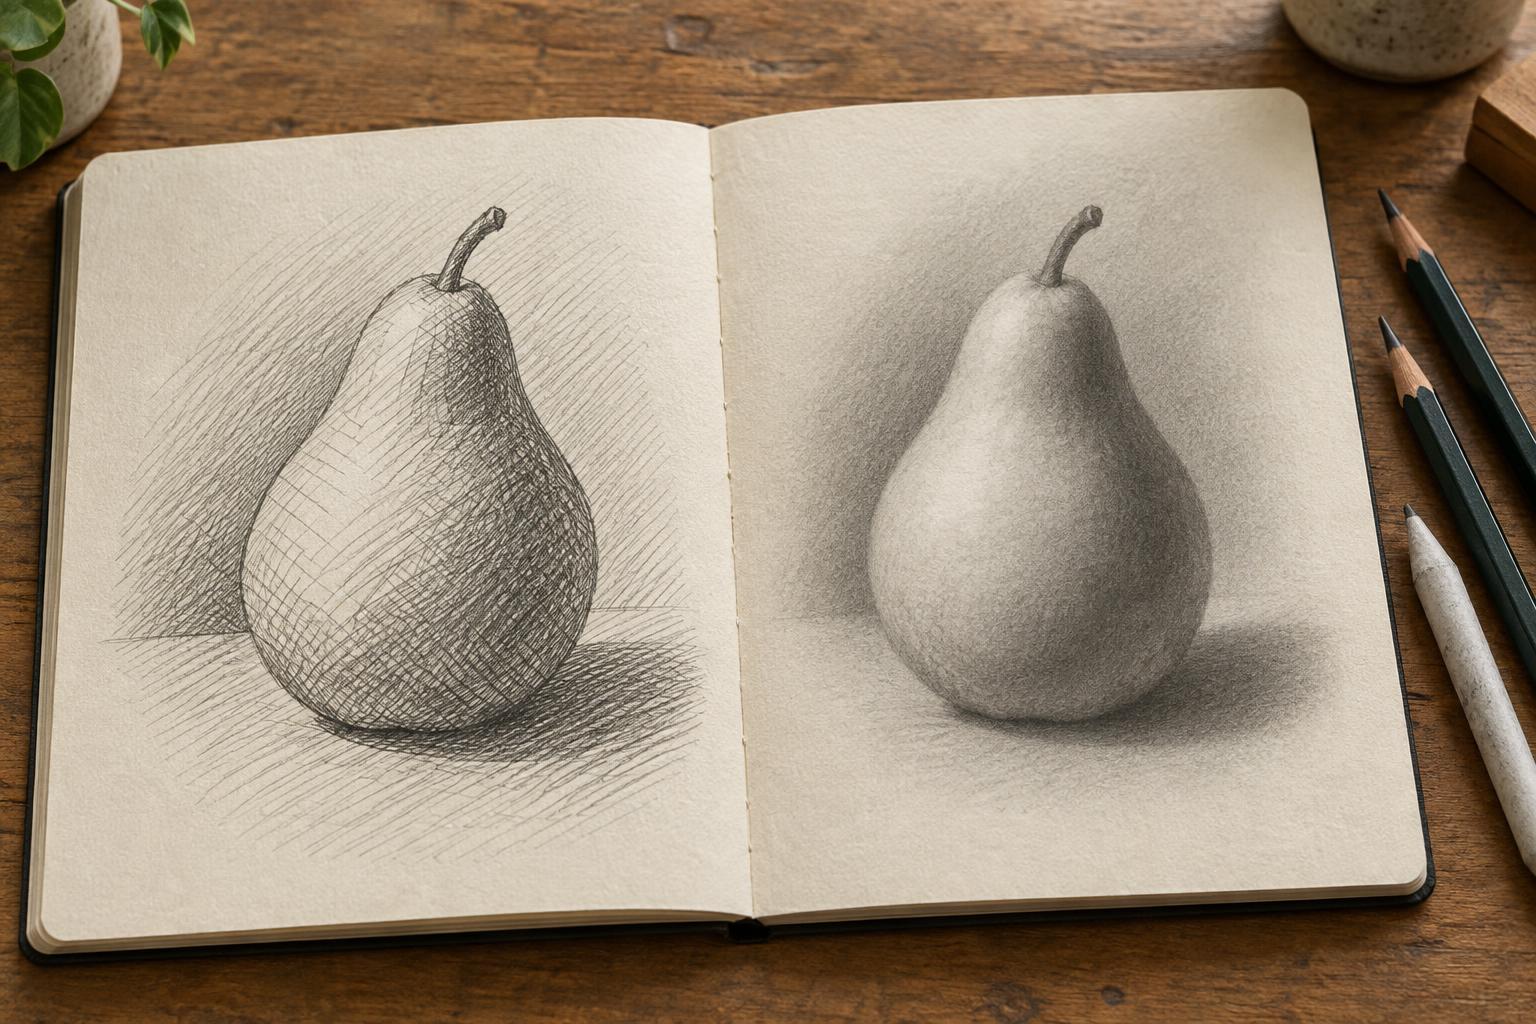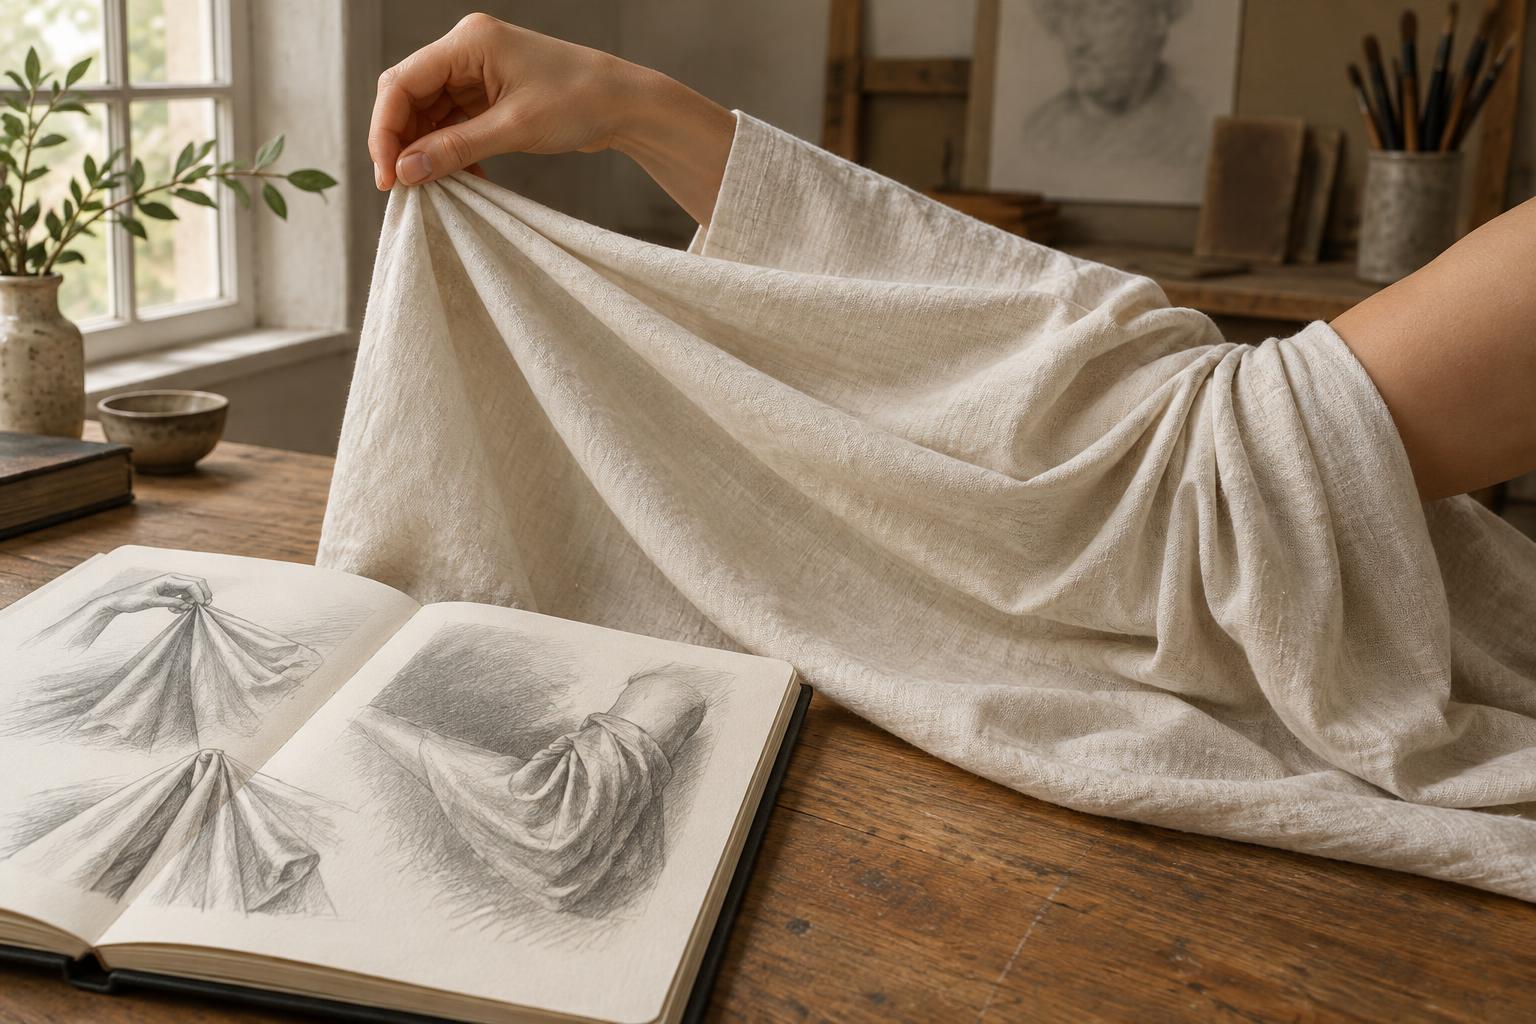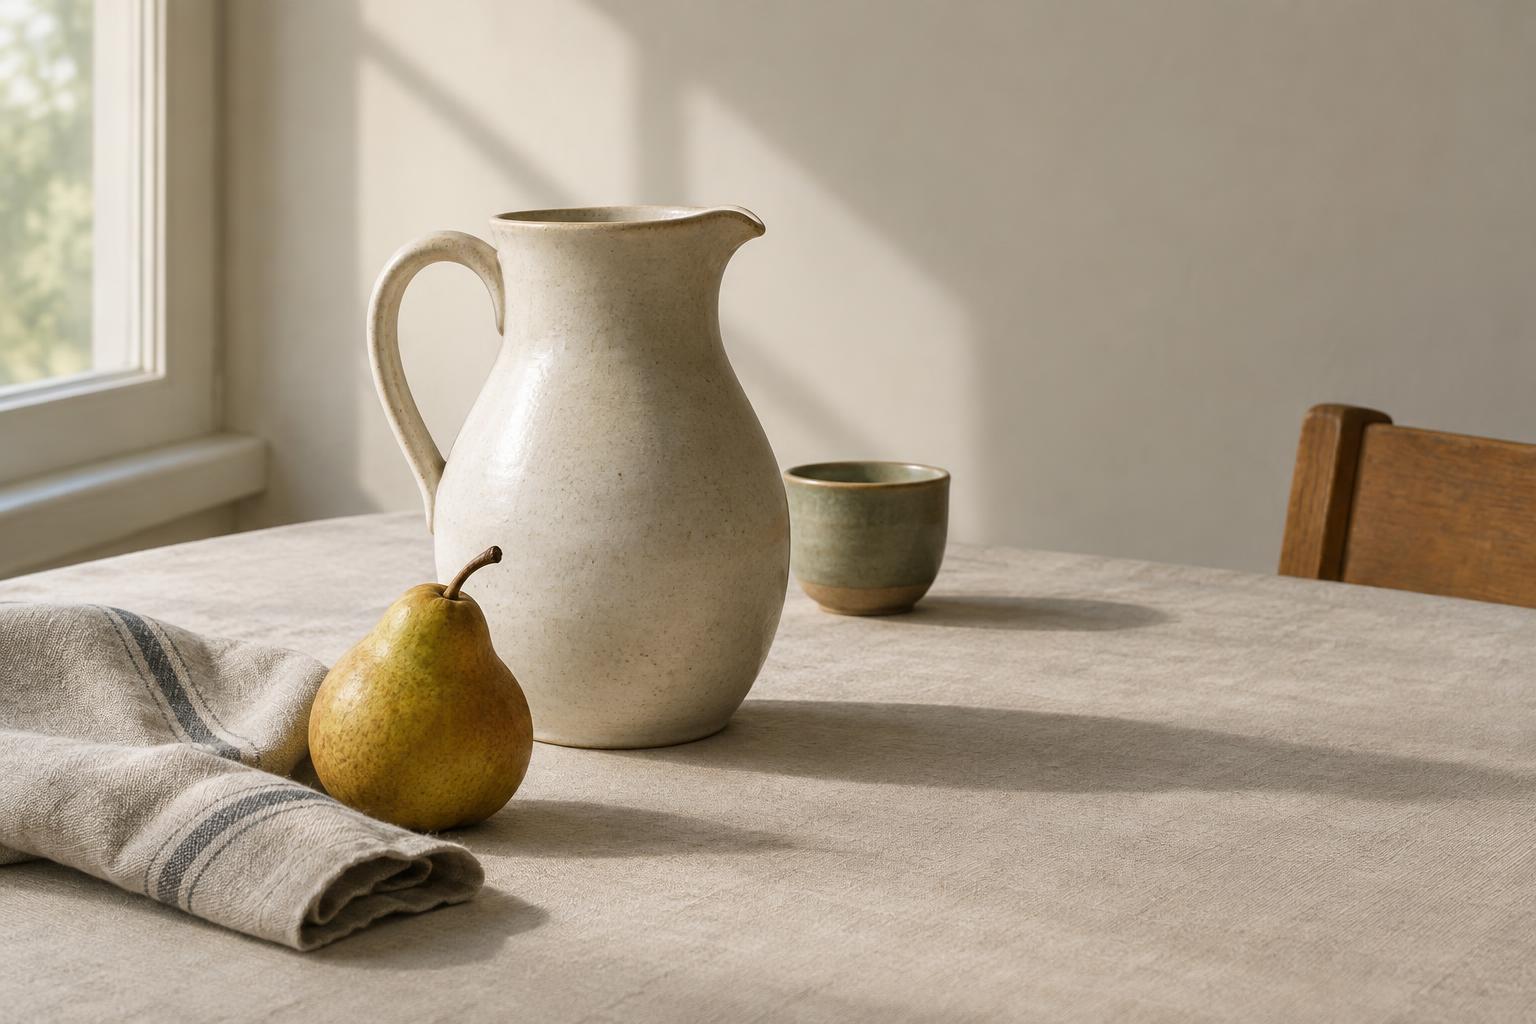
Start with a small group of objects
A still life is easier to arrange when each object has a job. Choose three to five familiar items with noticeably different shapes: a tall bottle, a low bowl, a piece of fruit, or a folded cloth, for example. The differences give your eye something to compare and give your drawing a range of contours. If every object is the same size and shape, the arrangement may feel repetitive before you have made a mark.
Pick one object to be the main point of attention. It might be the tallest form, the lightest form, or simply the one with the most interesting silhouette. Let the others support it rather than compete with it. You do not need to use every item you collected; removing an object is often the quickest way to make the group easier to read.
Arrange shapes, not just things
Place the objects on a plain surface and look at them from your intended drawing position. Their outlines matter more than their names. Try moving one item behind another so the forms overlap slightly, while keeping enough of each visible to show what it is. If a bottle sits directly in front of a cup and hides most of it, shift the cup sideways. If all the objects stand in an even row, bring one forward to create depth.
Pay attention to the spaces between objects as well. A narrow gap can make two forms seem connected; a wide gap can make an object feel stranded. Vary those gaps deliberately. It also helps to avoid awkward tangencies, where two edges touch at a single point without clearly overlapping. Moving an item a small distance can turn that confusing contact into a readable separation or overlap.
Choose a viewpoint and a frame
The arrangement changes when you change where you sit. At a low viewpoint, you may see more of the objects’ sides and less of the tabletop. From higher up, the tops of bowls and the spaces between items become more visible. Choose a position that makes the group understandable and comfortable to observe, then try to keep your head in roughly the same place while drawing.
Before starting a larger drawing, make two or three small rectangular thumbnail sketches. Use only simple shapes to mark the outer edges of the group, the tabletop, and the empty space around them. Try one frame with the objects close to the edges and another with more room to breathe. These quick comparisons can reveal whether your focal object has enough space and whether the group feels balanced. Balance does not require symmetry: a large, simple form on one side can be offset by smaller, more detailed forms on the other.
Use light to make the forms readable
A single, consistent light source can help separate the objects from one another. A nearby window or one lamp placed to the side may produce clear light and shadow shapes. Check whether the main object stands out against what is behind it. If a dark bottle disappears into a dark background, try a lighter backdrop or move the bottle where its edge is easier to see.
Look at the cast shadows as part of the composition, not as details to add at the end. They can connect a scattered group and show where objects sit on the surface. If several shadows merge into a shape you find confusing, adjust the light or spacing before you draw. You need not engineer perfect lighting; the aim is to make the big light and dark areas easy to identify.
Make a final check, then leave the setup alone
Step back and narrow your eyes. Can you identify the main shape first? Do the objects read as a group? Are any edges or gaps distracting you? Make one or two adjustments based on those questions rather than repeatedly rebuilding the arrangement. A simple setup with a clear relationship among its parts is more useful for practice than an elaborate one you cannot settle on.
Once you begin, lightly mark the full group on the page before detailing any single object. Compare its overall width with its height, then check the positions of the largest shapes and gaps. This keeps the drawing connected to the composition you planned. The goal is not to make an arrangement that can only be drawn one way, but to give yourself a clear structure from which to observe, compare, and revise.