Start with the marks you want to make
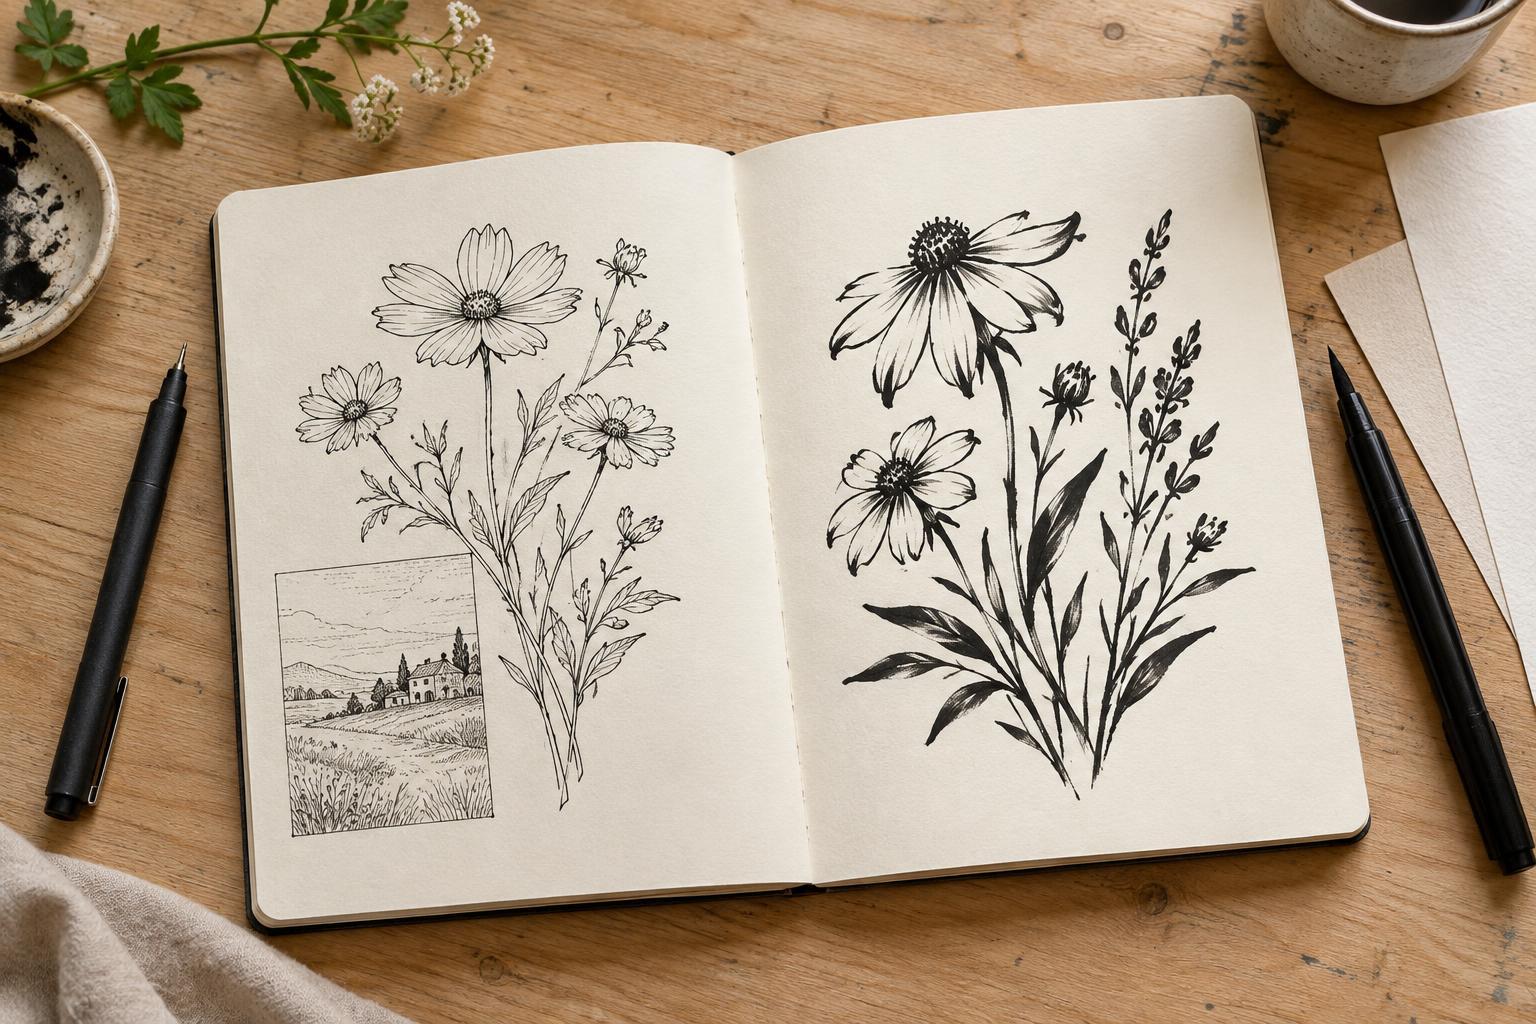
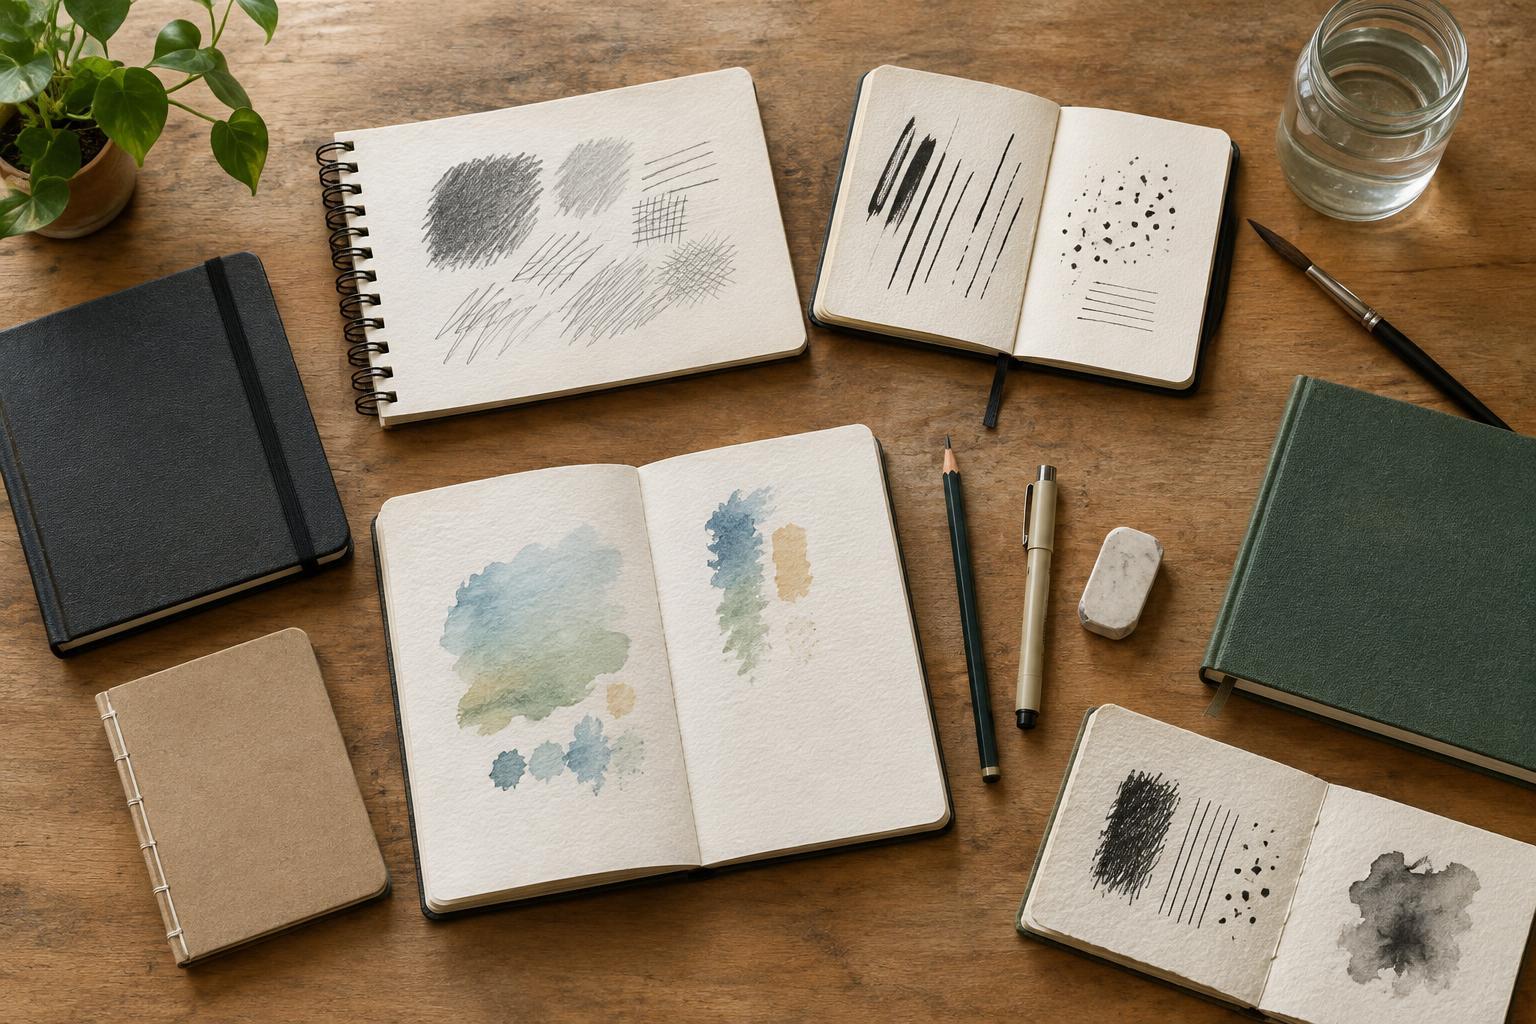
A sketchbook page, a finished ink drawing and a layered color-pencil illustration ask different things of paper. Before choosing a pad, list the tools you expect to use and what you need to do with the finished image. Will you erase a construction drawing repeatedly? Add a light wash? Scan fine linework? A sheet that feels pleasing under a soft pencil may behave less well when you add wet ink.
Paper is often described by three useful properties: weight, texture and erasability. None is a universal measure of quality. A lighter, smoother sheet can be ideal for quick pencil studies, while a heavier sheet with more texture may suit slow, layered work. Treat the label on a pad as a starting point, then make a few marks on a sample sheet before committing to a large piece.
Use weight to judge handling, not drawing quality
Paper weight is commonly given in grams per square meter, or gsm. In general, a higher gsm sheet feels more substantial and is less likely to buckle under light moisture. Weight alone does not tell you how absorbent a paper is, how smoothly a pen will travel across it, or whether its surface will survive erasing. Two sheets of similar weight can behave quite differently.
For dry pencil sketches, a relatively light drawing paper may be enough, especially if the work stays in a bound sketchbook. If you use markers, brush pens or washes, look for paper intended for those materials and test it for bleed-through and buckling. Heavier paper can help with handling, but it is not automatically suitable for every wet technique. If the finished drawing must be mounted or displayed, also consider whether the sheet feels sturdy enough to move, trim and store without creasing.
Format matters alongside weight. A large loose sheet may be more prone to curling or damage during handling than a small one of the same stock. For portable practice, a lighter pad can be convenient; for a finished illustration, a separate, sturdier sheet may be easier to work on and protect.
Match texture to your tools and desired finish
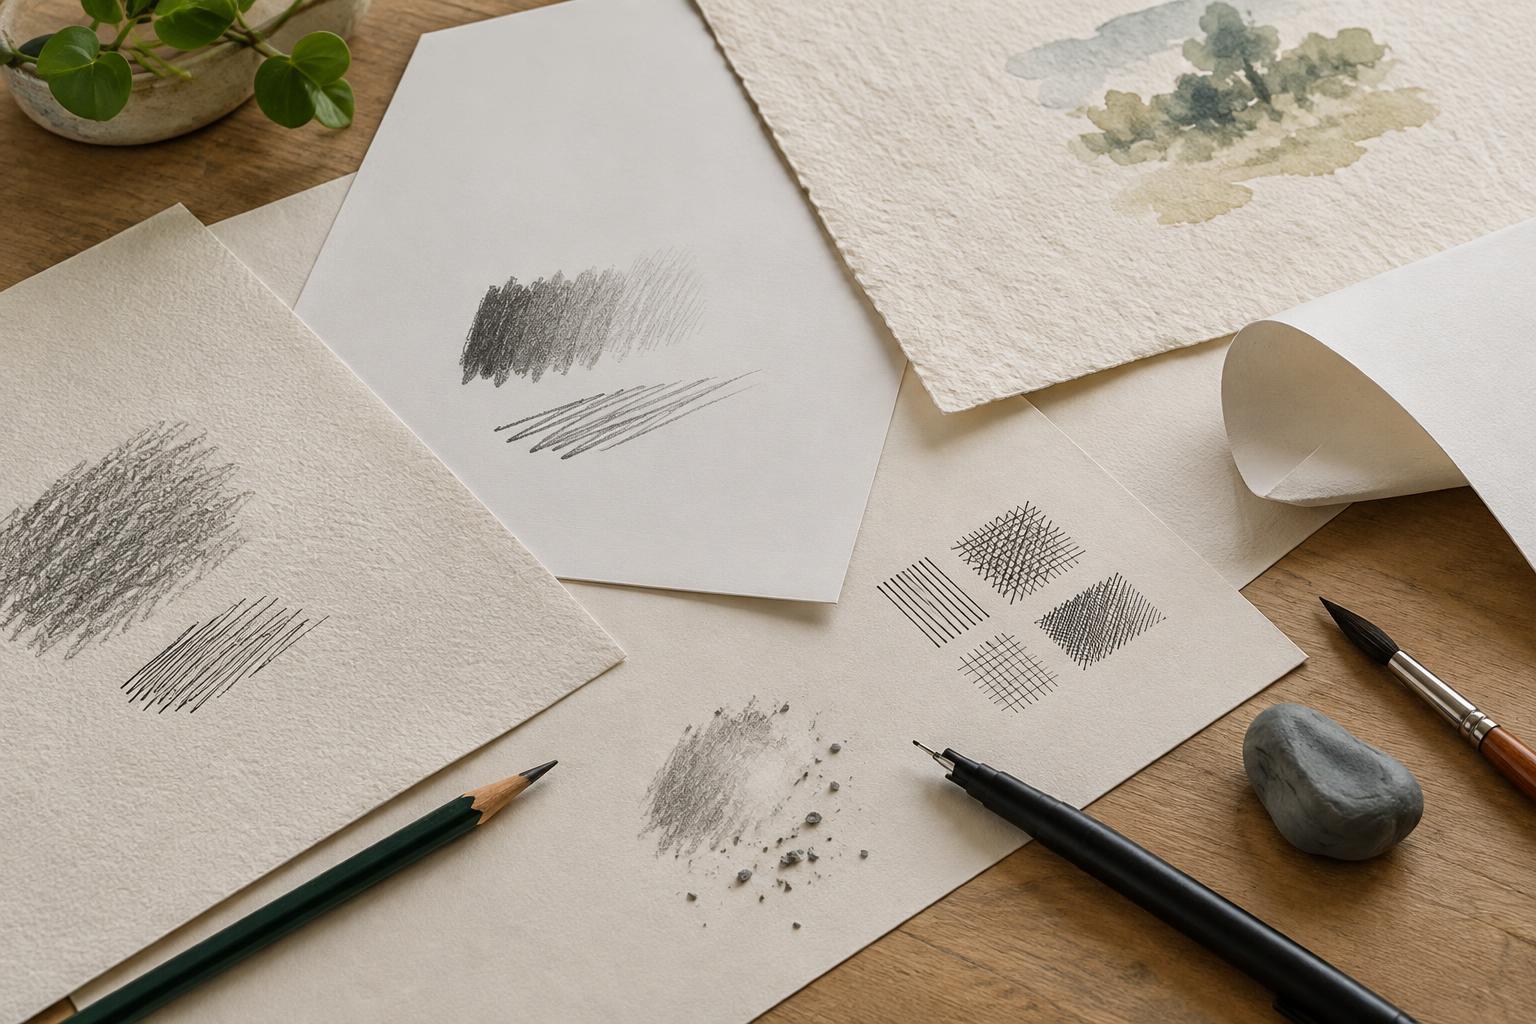
Texture is the feel of the paper surface, sometimes called its tooth. Smooth paper allows crisp pen lines and even scans, and it makes small details easier to control. It can also offer less grip for broad layers of graphite or colored pencil. A more textured sheet catches dry pigment readily and can create lively, broken marks, but that same texture may interrupt a fine nib or show through a flat area of ink.
Think about how much texture you want visible in the final image. For clean comic linework or tightly rendered details, start with a smooth surface and check whether your pen feathers or skips. For expressive pencil shading, charcoal or layered colored pencil, try a surface with enough tooth to hold repeated marks. Very rough paper can make delicate corrections harder and consume soft pencil points quickly.
You do not have to find one paper for every stage. Some illustrators sketch freely on inexpensive paper, then transfer a refined drawing to a surface chosen for the final medium. That approach lets the early drawing stay flexible without asking the final sheet to withstand every revision.
Test erasability before a drawing depends on it
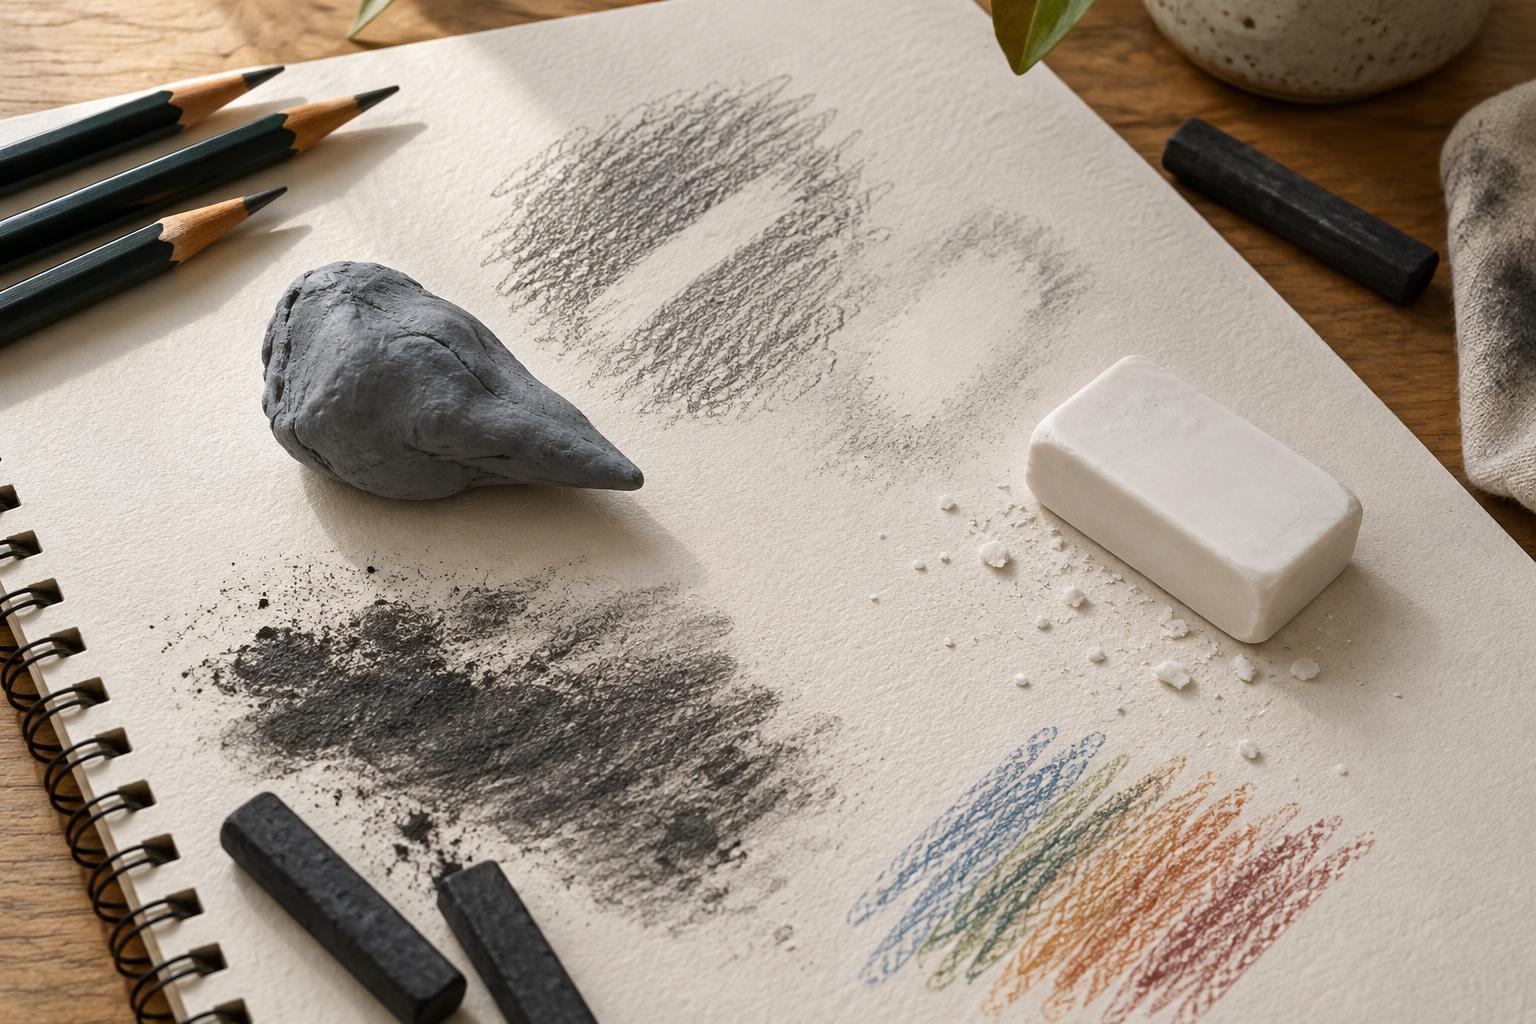
Erasability is not simply a question of whether graphite comes off. The surface should also remain usable afterward. On a scrap of the paper, draw a few light guide lines, a dark patch and a shaded area. Erase each with the eraser you normally use, then draw over the same spots. Look for lingering marks, pilling, a polished patch that resists new marks, or fibers that catch your pen.
Pressure and eraser choice affect the result. Light construction lines are usually easier to remove than grooves pressed into the sheet. A soft eraser may lift graphite gently, while repeated hard rubbing can damage even a sturdy paper. If you expect many revisions, choose a sheet that tolerates your actual workflow and keep the first drawing light.
Build a small paper test you can repeat
When comparing papers, use the same few marks on each: a light pencil sketch, a dark value, an erased-and-redrawn area, your thinnest ink line and, if relevant, one small wet or layered color swatch. Let wet marks dry before judging smears or show-through. Test both sides if you plan to fill a sketchbook. Keep the samples labeled so you can compare them later without relying on memory.
The most useful paper is the one that supports your process with the fewest distracting compromises. If a surface takes beautiful pencil marks but makes your ink line spread, reserve it for pencil. If a smooth sheet scans cleanly but erases poorly, use it after your composition is settled. A modest set of tested papers can serve more purposes than a single supposedly all-purpose pad.