Start with the pose, not the outline
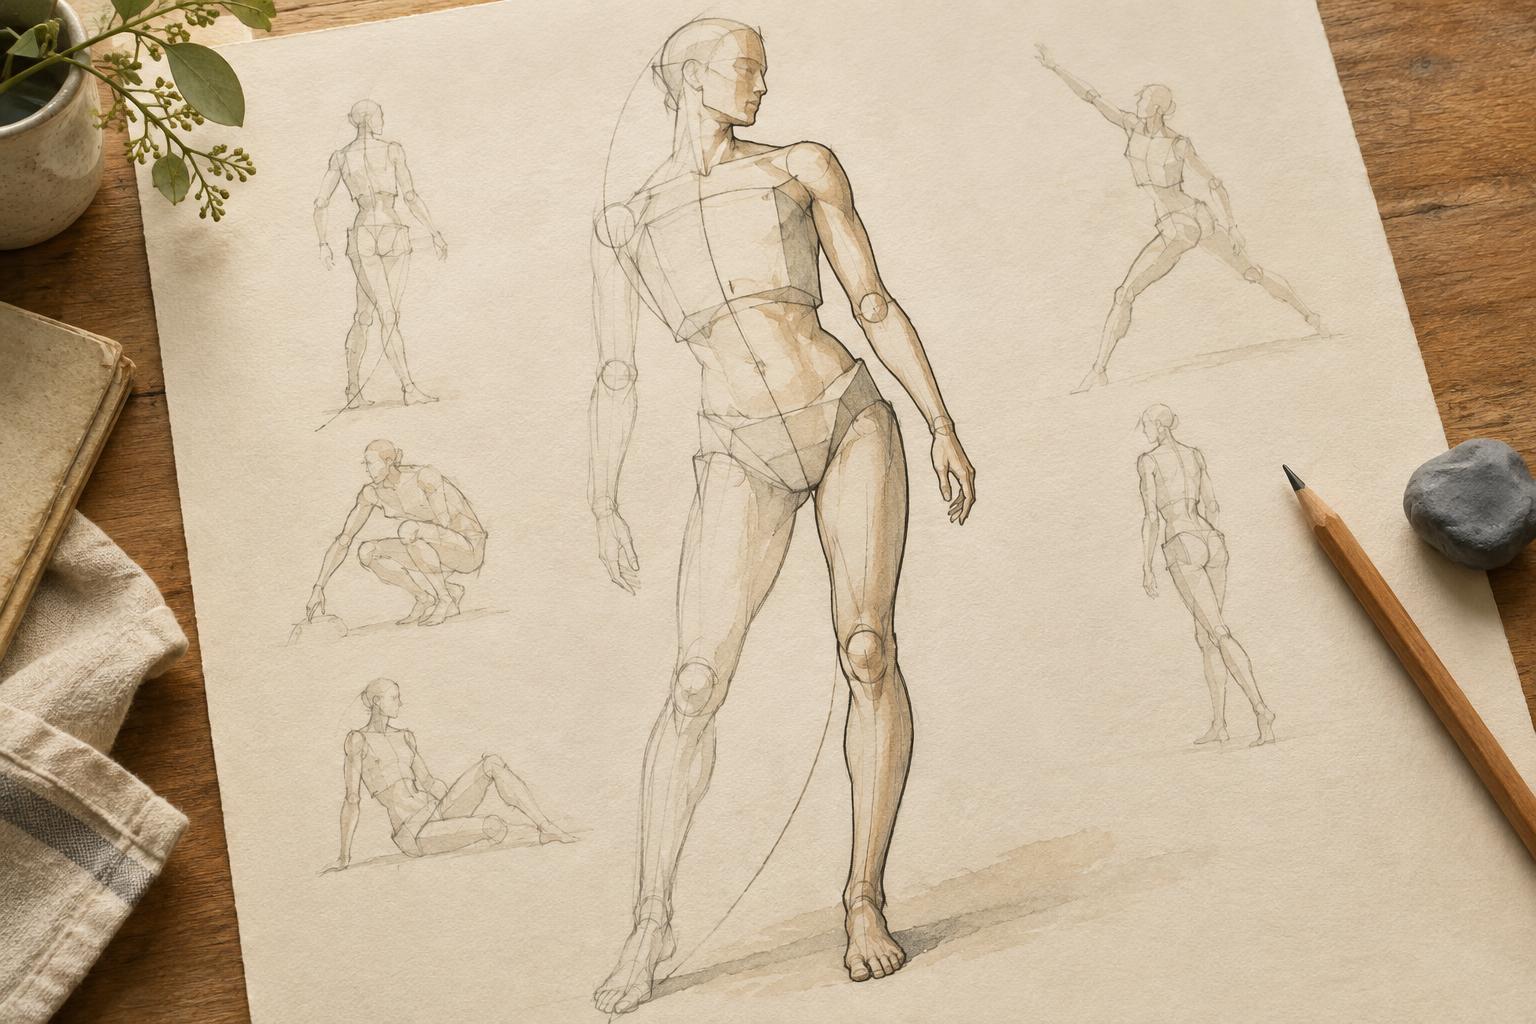
A figure can have a carefully drawn outline and still feel stiff. Before thinking about the edge of the body, ask what the person is doing: leaning, reaching, sitting, turning or standing at rest. Draw a loose line of action to describe the main direction of the pose. It may curve through the head and torso into a supporting leg, or run from a planted foot toward an outstretched hand. Its job is not to trace the spine exactly. It gives the drawing a sense of movement.
Next, mark the head, rib cage and pelvis with quick, simple shapes. Leave room on the page for the full pose, including any extended limbs. At this stage, a small sketch can be more useful than a polished one. If the gesture reads at thumbnail size, you have a foundation to build on. If it does not, adjust the broad angles before spending time on anatomy.
Give the torso two distinct masses
Think of the rib cage as an egg-like volume or a rounded box, and the pelvis as a shorter, bowl-like box. These forms need not match the body's visible contours. They are tools for showing which way each part faces. A centerline down the front of each mass helps establish its turn. Simple marks for the shoulders and hips help show its tilt.
The rib cage and pelvis rarely stay perfectly parallel in an active pose. One may tip or rotate while the other remains more level. Connect them with a flexible area rather than treating the torso as one rigid block. When a figure twists, check whether the front planes of the two masses point in different directions. When it bends, look for compression on one side of the waist and more space on the other. These relationships often communicate the pose more clearly than extra surface detail.
Build limbs with cylinders and clear joints
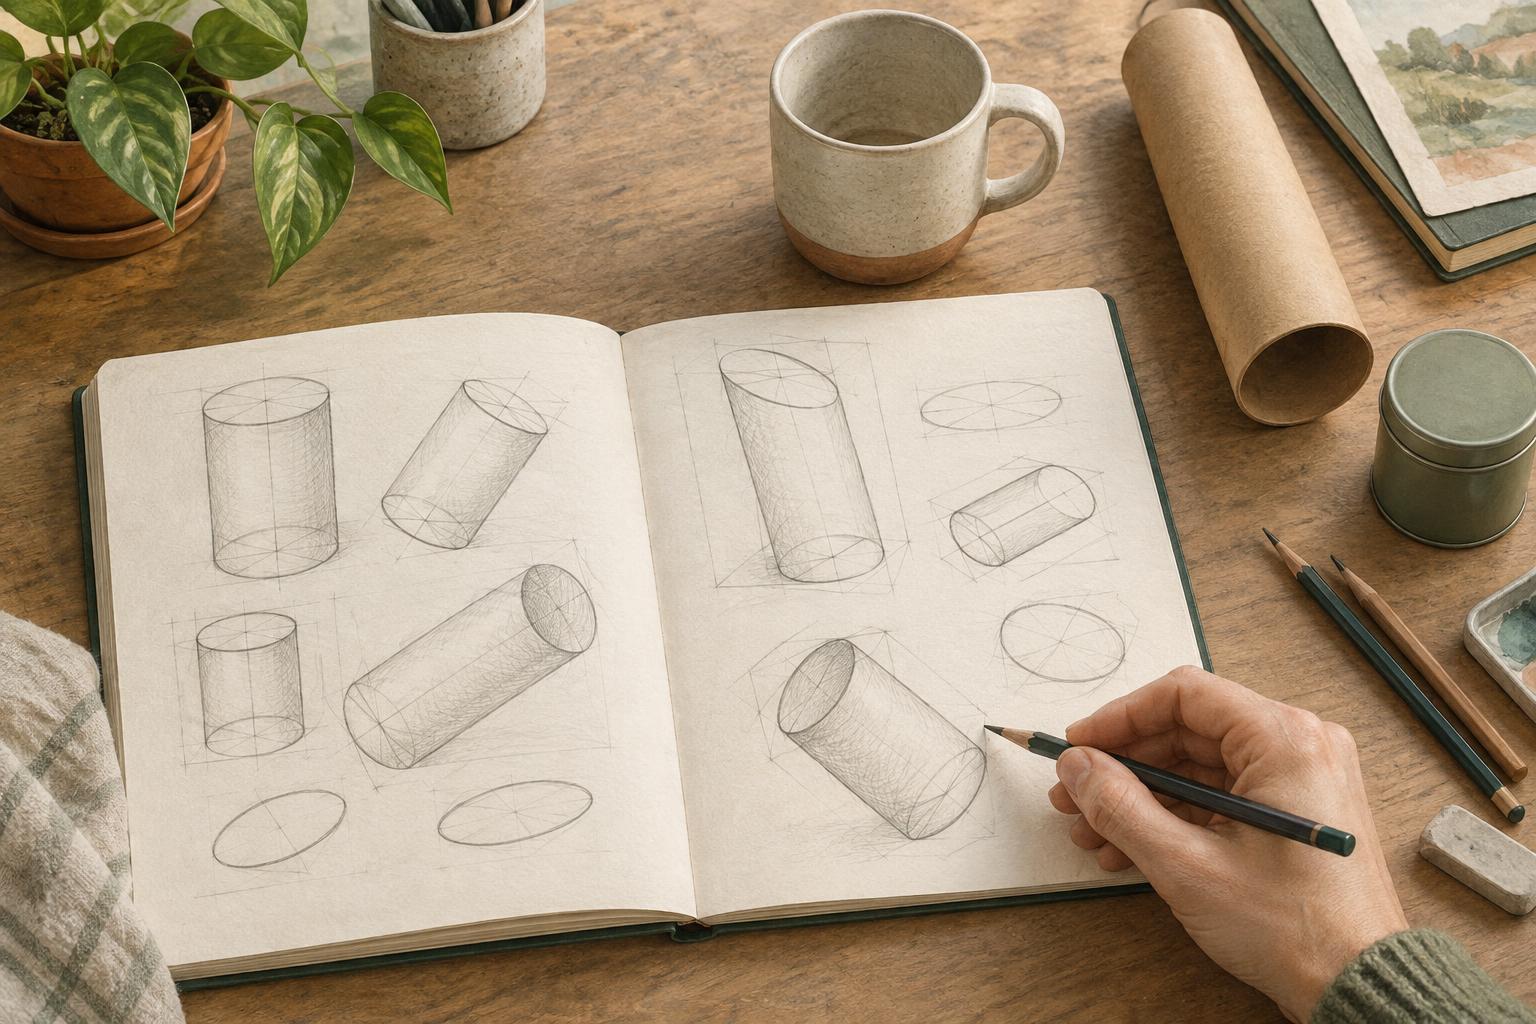
Place the major joints before drawing the full arms and legs: shoulders, elbows, wrists, hips, knees and ankles. Then connect them with tapered cylinders or narrow boxes. Avoid making every segment the same width or perfectly straight. Even in a simplified construction, the upper arm, forearm, thigh and lower leg should feel like separate forms with different directions.
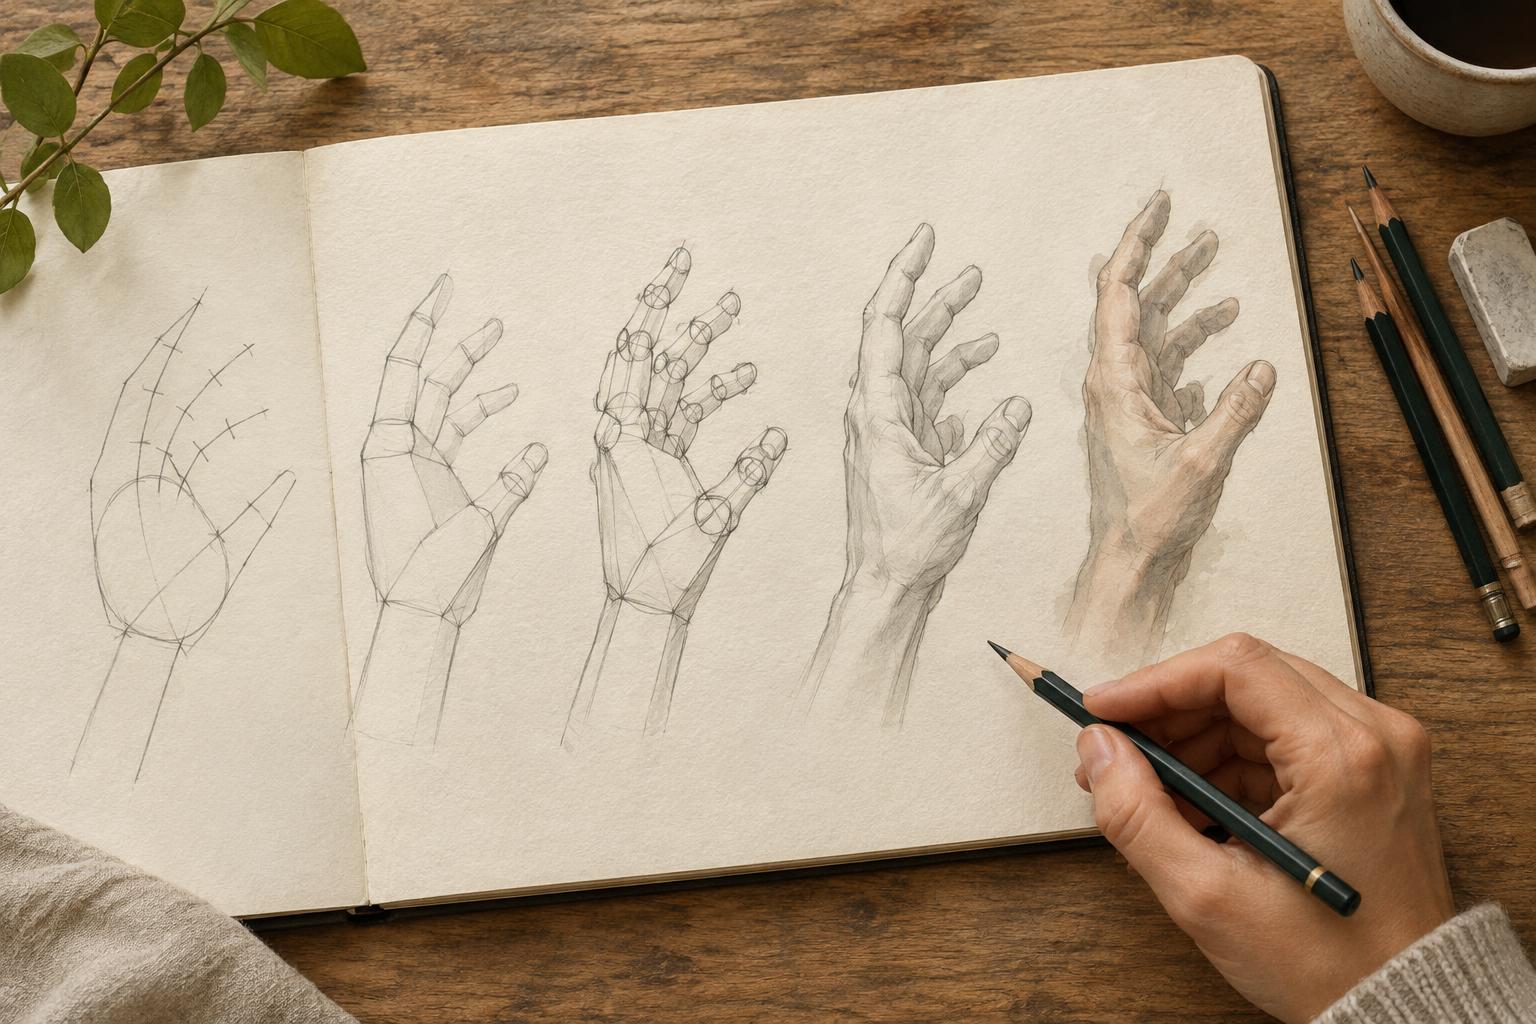
Treat a joint as a change in direction, not merely a dot between two lines. A small ball or hinge-like mark can help you decide how the next segment attaches. For hands and feet, begin with wedges. The palm can be a flattened box; the foot can be a block that shows where weight meets the ground. Fingers, toes and shoe details can wait until the larger pose works.
When a limb points toward the viewer, its apparent length may be much shorter than you expect. Instead of forcing the usual length into the drawing, compare overlapping forms and visible widths. A cylinder seen end-on may show more of its circular face and less of its side. Drawing through the form lightly, including the portion hidden behind another shape, can make its direction easier to understand.
Check balance and proportion before refining
Proportion guides are useful, but they are not a substitute for observing a pose. Look at how the head compares with the torso, where the elbows fall and how much space remains between the pelvis and knees. Compare one distance with another within the drawing rather than relying on a single measurement for every figure. Perspective and pose can change how long a body part appears on the page.
Balance offers another useful check. In a standing pose, identify the foot or feet carrying weight, then imagine a vertical line dropping from the torso toward the ground. A dramatic lean can work, but it needs a believable support or a sense that the figure is moving. Check the direction of the hips, the bend of the supporting knee and the placement of the feet. If the figure seems to tip unintentionally, try shifting a major mass before correcting smaller shapes.
Practice construction in short passes
Choose a pose from a reference you have permission to use, or draw from life. Make three passes on the same sketch. In the first, draw only the line of action and the head, rib cage and pelvis. In the second, add joints and limb volumes. In the third, clarify overlaps and the parts touching the ground. Keep early lines light so a changed angle does not feel like a mistake you must preserve.
Afterward, try drawing the same pose from memory, then compare it with the reference. Notice which large relationships you remembered and which you guessed. This exercise is less about producing a finished picture than about learning where your construction needs help. Once the volumes hold together, refine the silhouette and add anatomy, clothing or expression. Those details will have a clearer structure to follow.