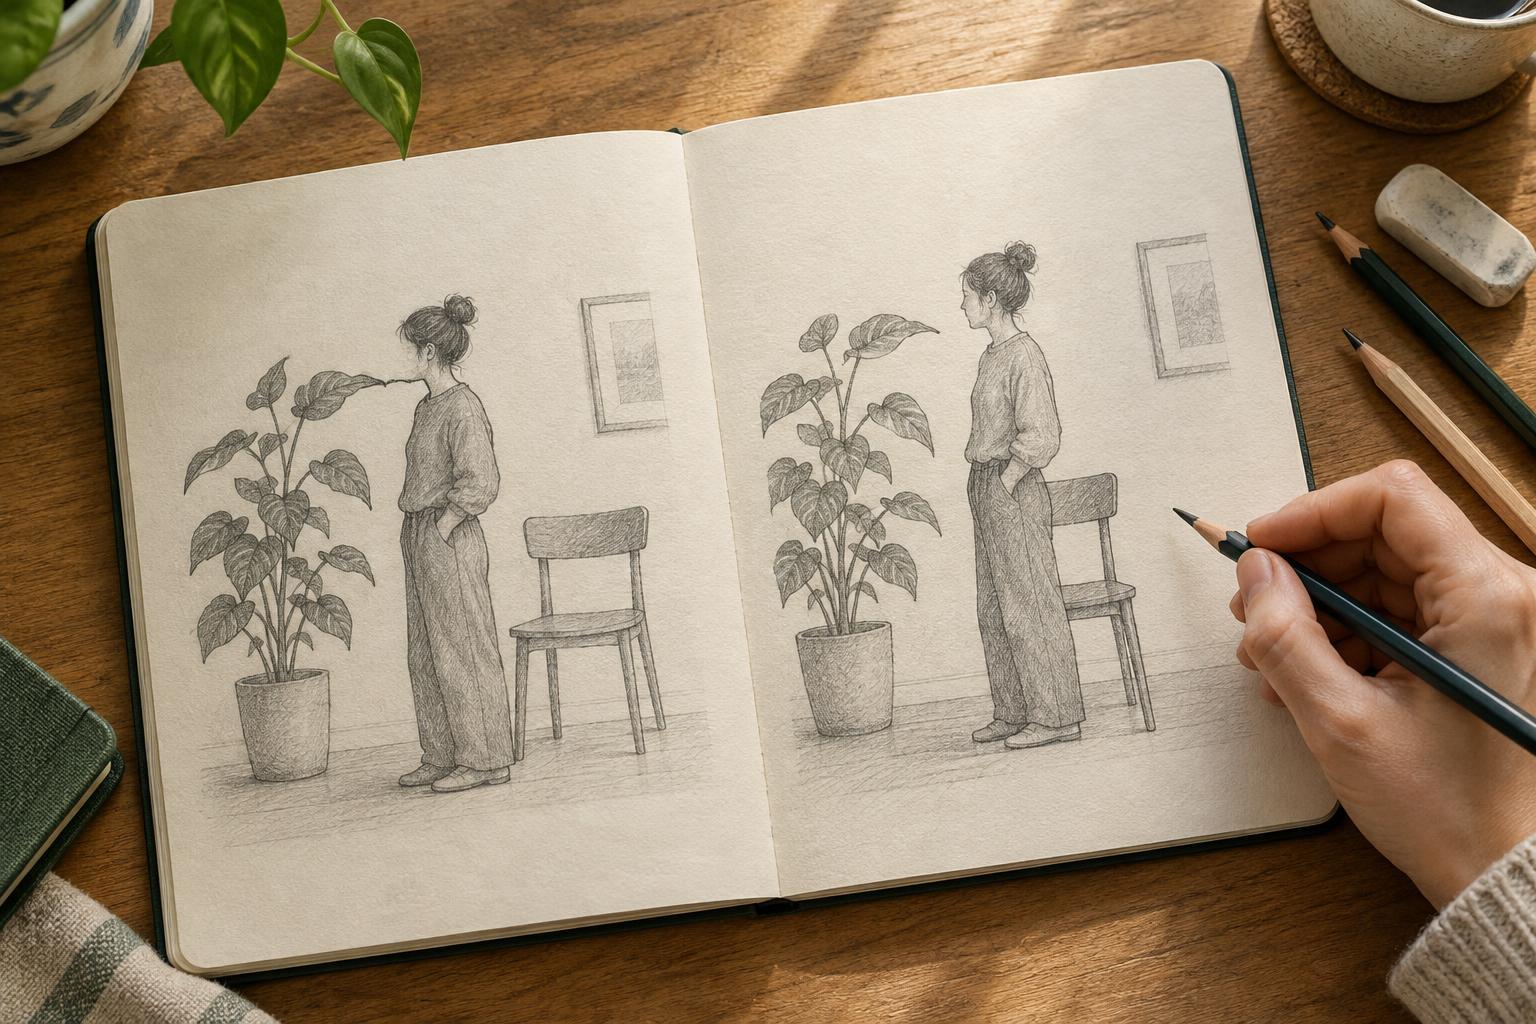
Find what controls the cloth
A page full of wrinkles can make fabric look impossibly complicated. Instead of copying every line, begin by asking what is holding the cloth in place. A shoulder supports a shirt. A bent elbow pushes into a sleeve. Fingers pinch a scarf. These contact areas are tension points: places where the fabric is caught, pulled, or pressed against another form. They give nearby folds a reason to exist.
Before drawing details, lightly sketch the body or object beneath the fabric. Mark the points where the cloth is attached or held, then indicate the direction of gravity. Look for a few major paths between those points. On a hanging curtain, folds may descend from hooks toward the floor. On a shirt, they may fan out from a button or gather under an arm. The paths need not be perfectly straight; they should simply show where the cloth has room to move and where it does not.
Separate pull from compression
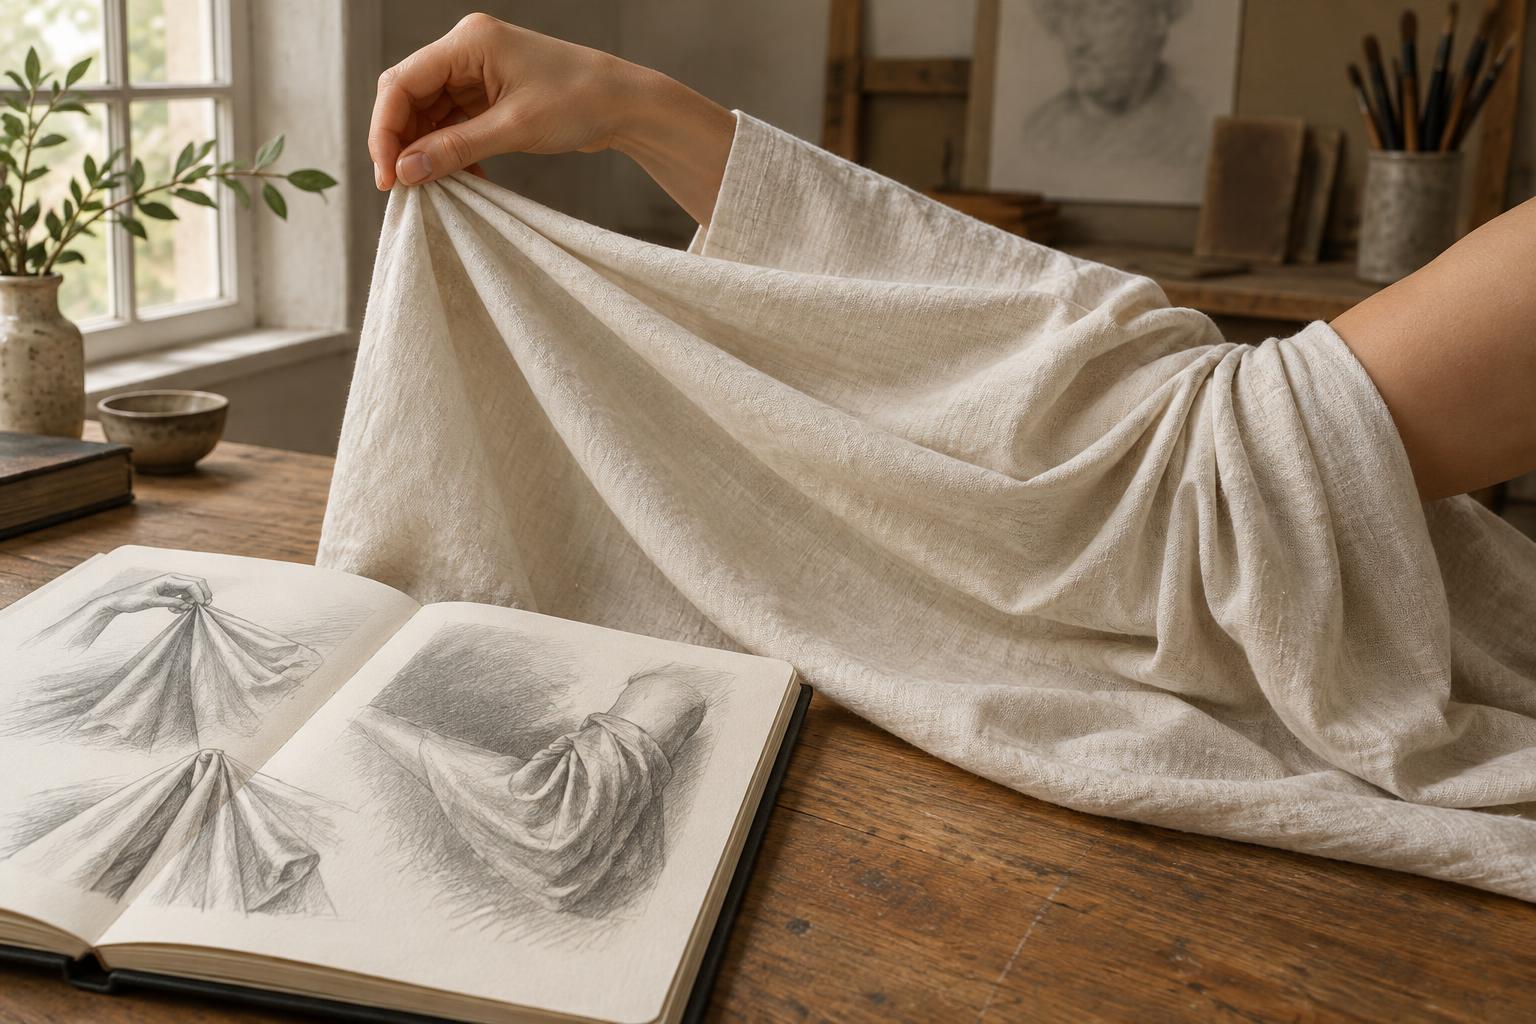
Fabric under tension tends to form longer, more directional folds. Imagine gently pulling a loose sleeve at the cuff: creases may travel from the grip toward the shoulder or elbow. To draw this effect, place the longest lines first and let several of them converge near the point of pull. Vary their lengths and spacing rather than making an even fan. A few clear folds often describe the pull better than many parallel stripes.
Compression produces a different pattern. When an elbow bends or a waistband pushes cloth upward, extra material has to bunch somewhere. Folds become shorter, more crowded, and less orderly. Sketch the outer silhouette of the bunch before adding interior creases; its changing edge helps convey volume. Then draw only the folds that clarify which parts overlap. A crease can stop, change direction, or disappear behind another fold. Letting lines break keeps the fabric from looking like a flat surface covered in marks.
Both effects can appear in one garment. A sleeve may stretch across the outside of a bent elbow while bunching on the inside. Compare those two areas before refining either one. The contrast between a relatively smooth plane and a crowded cluster does much of the work of explaining the pose.
Turn lines into overlapping forms
Fold lines are guides, not the finished explanation. Each fold creates a small change in surface direction: one part faces the light, another turns away, and an overlap may cast a darker shadow. Choose a simple light direction and group your values into light fabric, turned-away fabric, and the darkest spaces between layers. You can do this even in a quick pencil sketch by leaving broad areas of paper untouched and reserving firm pressure for a few deep creases.
Pay attention to where a shadow begins and ends. A fold that rises away from the surface often has a soft transition on one side and a sharper edge where fabric tucks under itself. Keep the shading subordinate to the larger structure. If every narrow crease receives the same dark outline, the drawing may become busy without gaining depth. Step back occasionally and check whether the main pull, bunching, and silhouette are readable before adding smaller shadows.
Material affects the result, but it does not replace the underlying logic. Stiffer cloth often holds broader, more angular shapes; softer cloth may settle into smaller, flowing folds. Treat those tendencies as observations to test against your reference, not rules that dictate every mark.
Practice with one change at a time
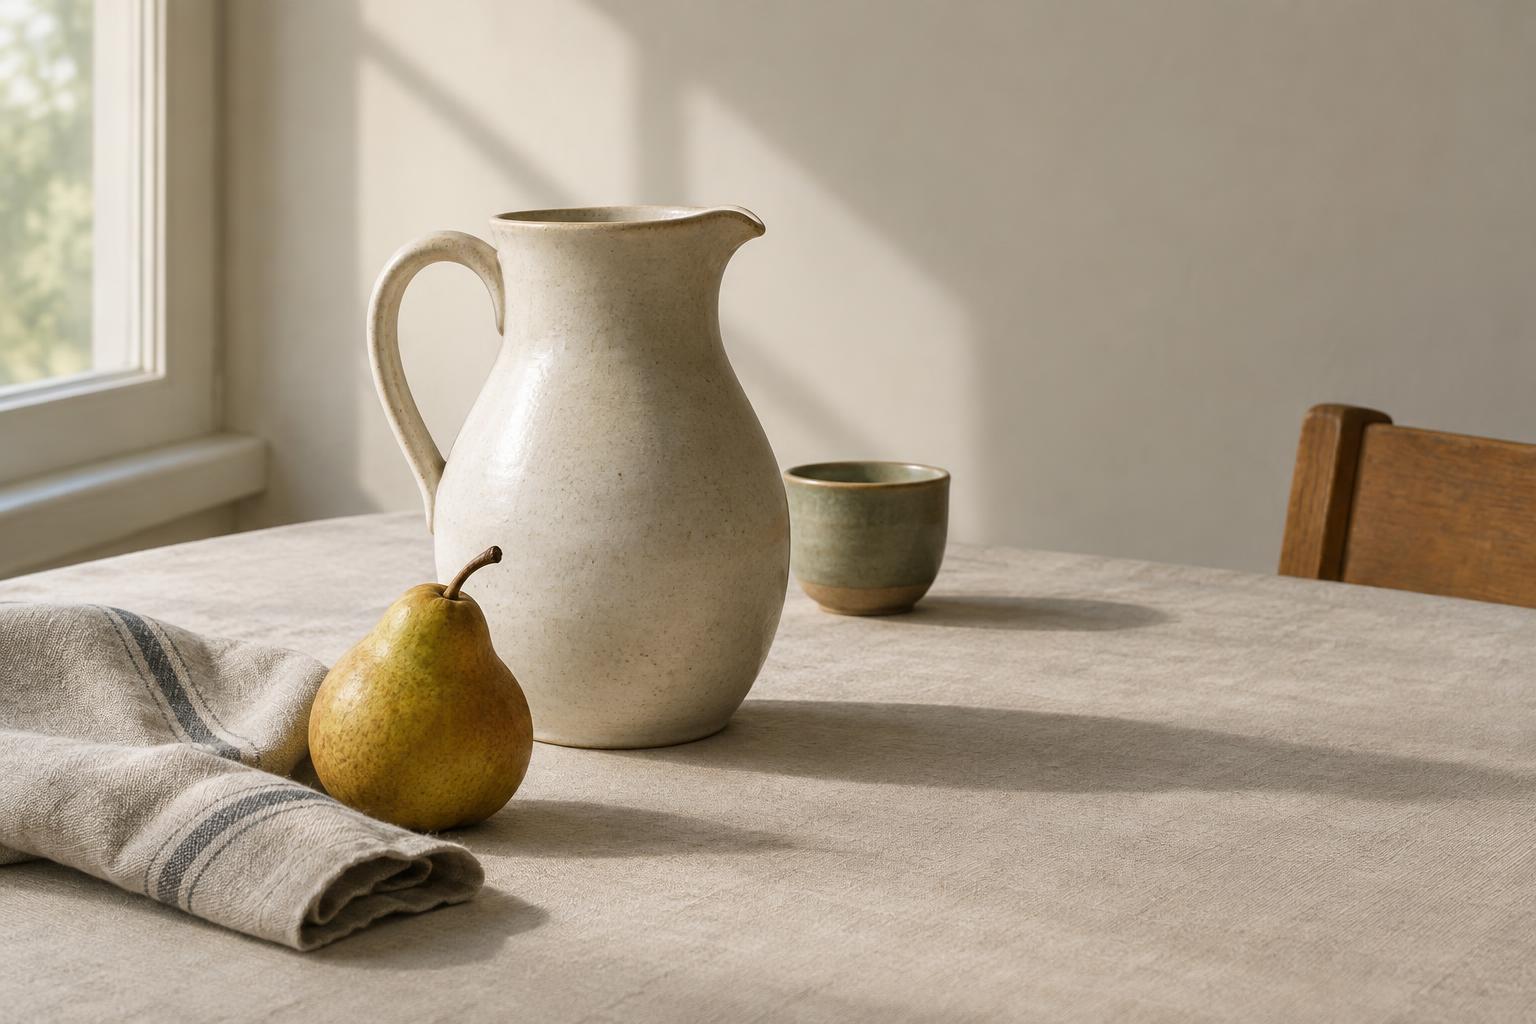
Set a piece of fabric over a chair or box and secure it at one point. Spend two minutes drawing only its outline and the three most important folds. Move the attachment point and repeat. Next, hold the fabric at two points and notice which folds connect them, which fall downward, and where loose cloth gathers. These short studies make the relationship between cause and crease easier to see than a long drawing devoted to every wrinkle.
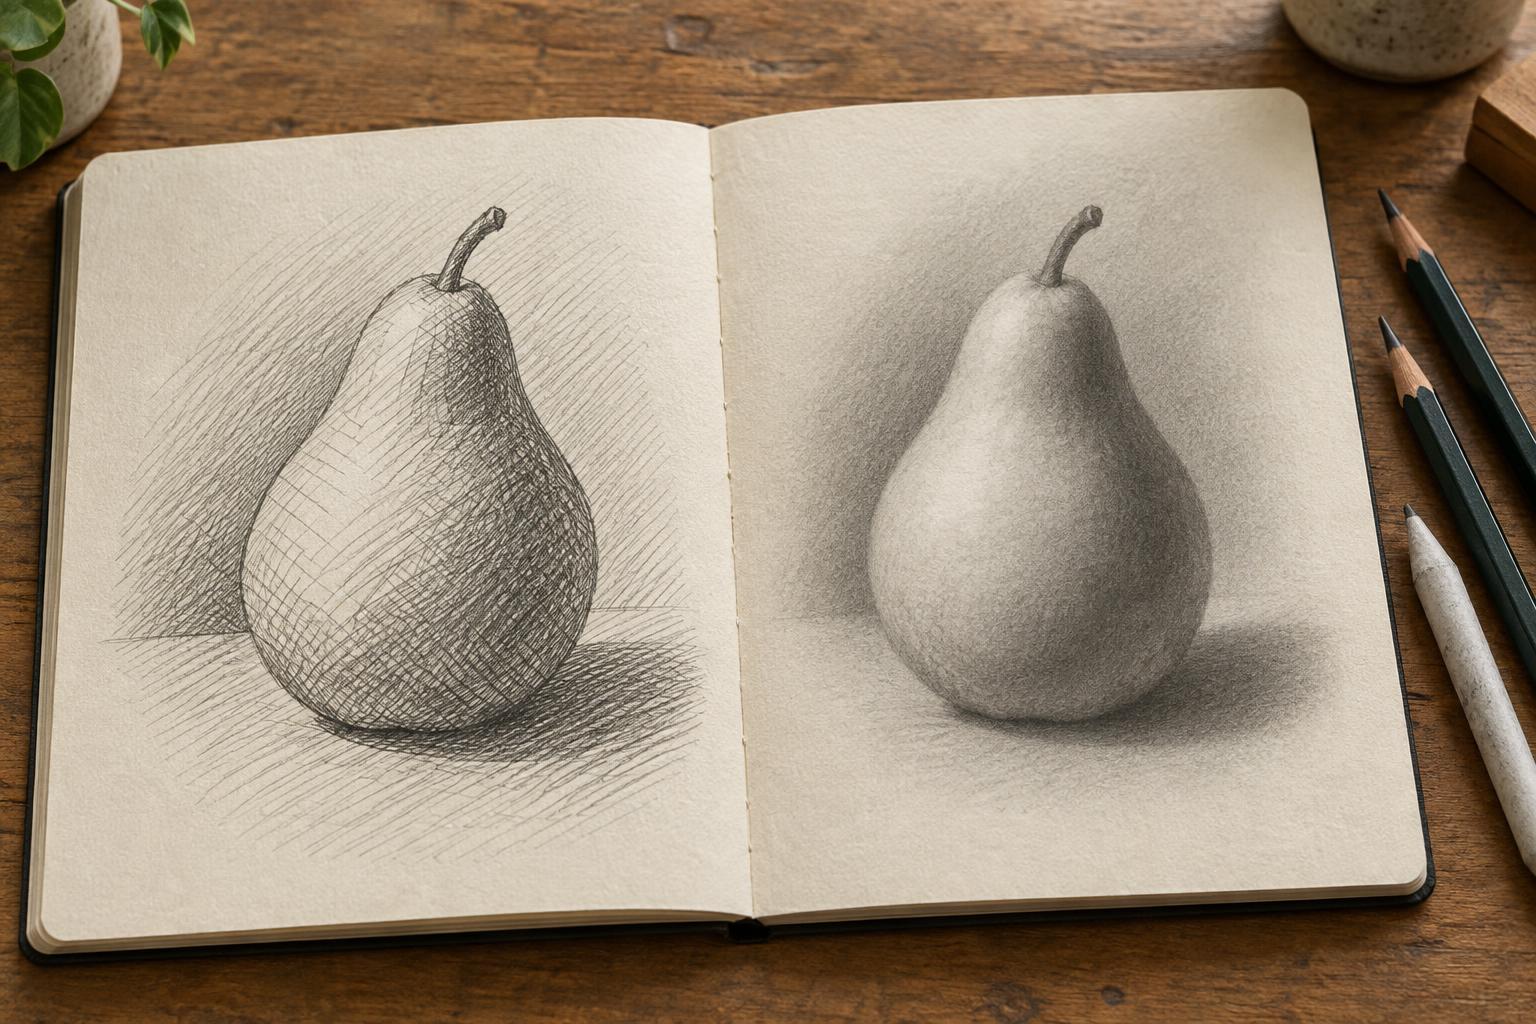
For a final study, draw the same arrangement twice. In the first version, use lines only. In the second, replace most interior lines with a few shadow shapes. Compare which version makes the tension points and overlapping layers clearest. When drawing from a photograph or imagination later, use the same order: underlying form, contact points, major fold paths, silhouette, then selective value. You do not need to account for every wrinkle. You need enough evidence for the viewer to understand how the fabric is being held.