Think in depth, not just in length
Foreshortening happens when a form points toward or away from the viewer. Its length in the picture can become surprisingly short, even though the object itself has not changed. A forearm aimed at the viewer, for example, may occupy less space on the page than the width of the hand in front of it. The challenge is to show where that length went: into depth.
Start by deciding what is nearest, what is farthest and which direction the form travels between them. Draw a light line through its center to establish that direction. Then place a simple shape at each end, such as two ovals for a cylinder. This gives you more to work with than an outline alone. If the near end is larger, the far end smaller and their sides connect consistently, the form can read as deep even when its visible length is brief.
Build a simple volume before the contour
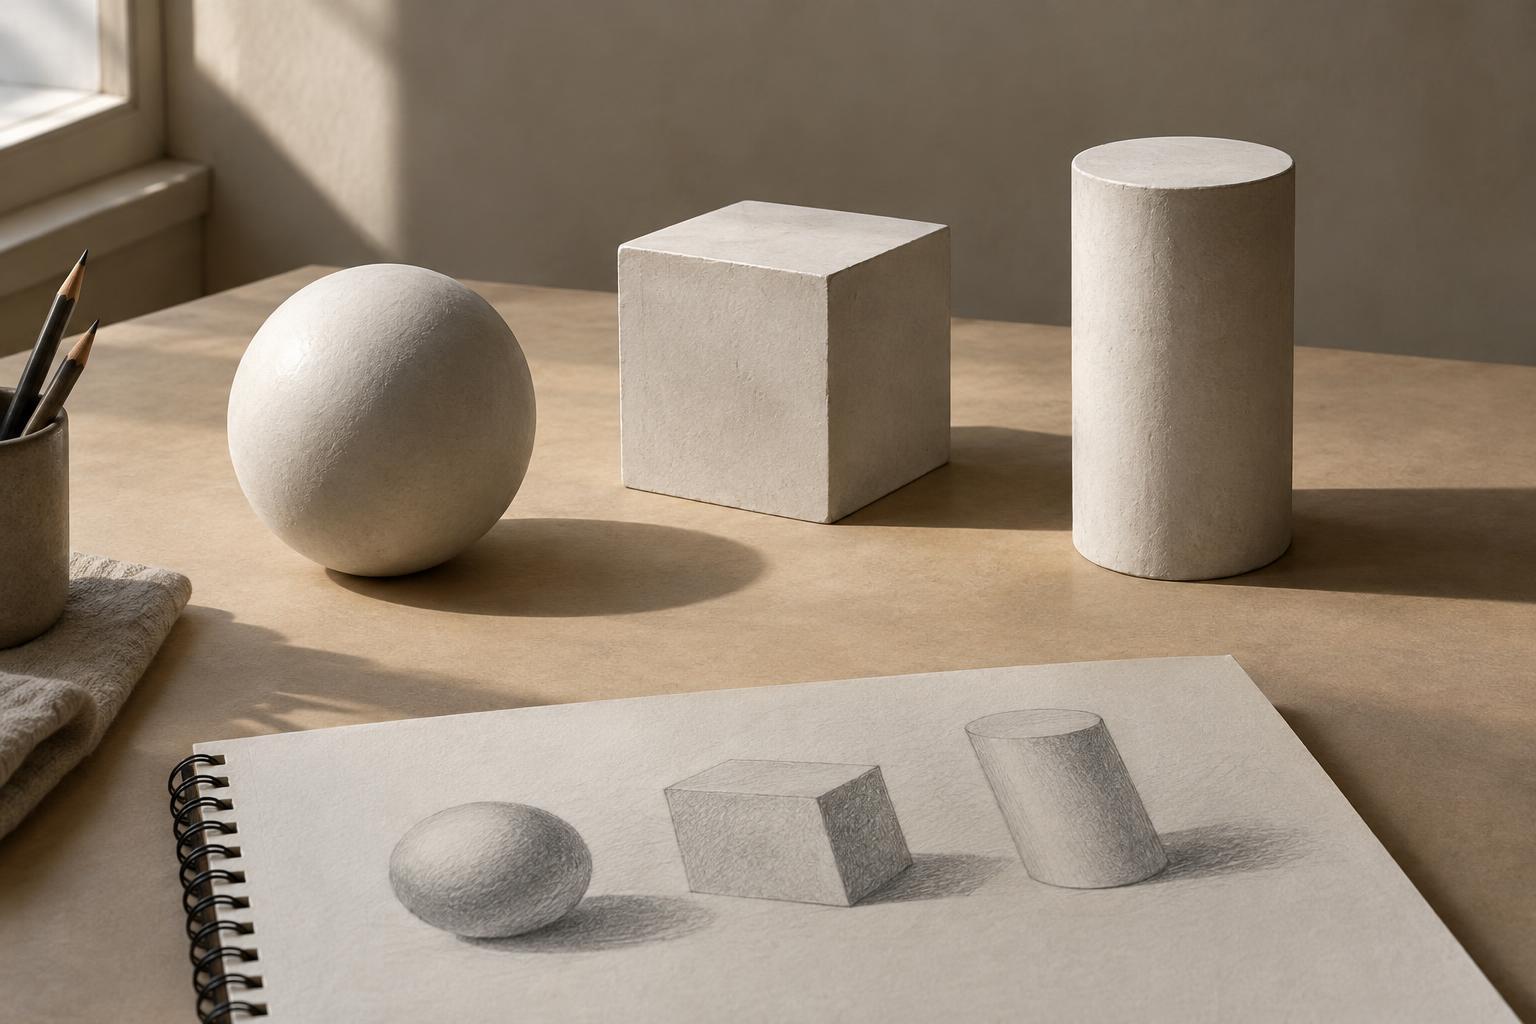
Boxes and cylinders are useful starting points because they reveal how a form turns in space. For a box, draw its near face first, then locate a farther face along the direction of depth. Connect corresponding corners. For a cylinder, establish the near ellipse and far ellipse before joining their edges. Neither construction has to remain visible in the finished drawing; its job is to keep the contour attached to a believable volume.
Avoid treating perspective as a rule that every far end must become dramatically tiny. The apparent difference depends on the viewing angle and how much depth the object spans. If you are drawing from observation, compare what you see rather than applying a fixed size ratio. Check the angle of the centerline, the width of each end and the distance between them as separate decisions.
Use landmarks to protect proportion
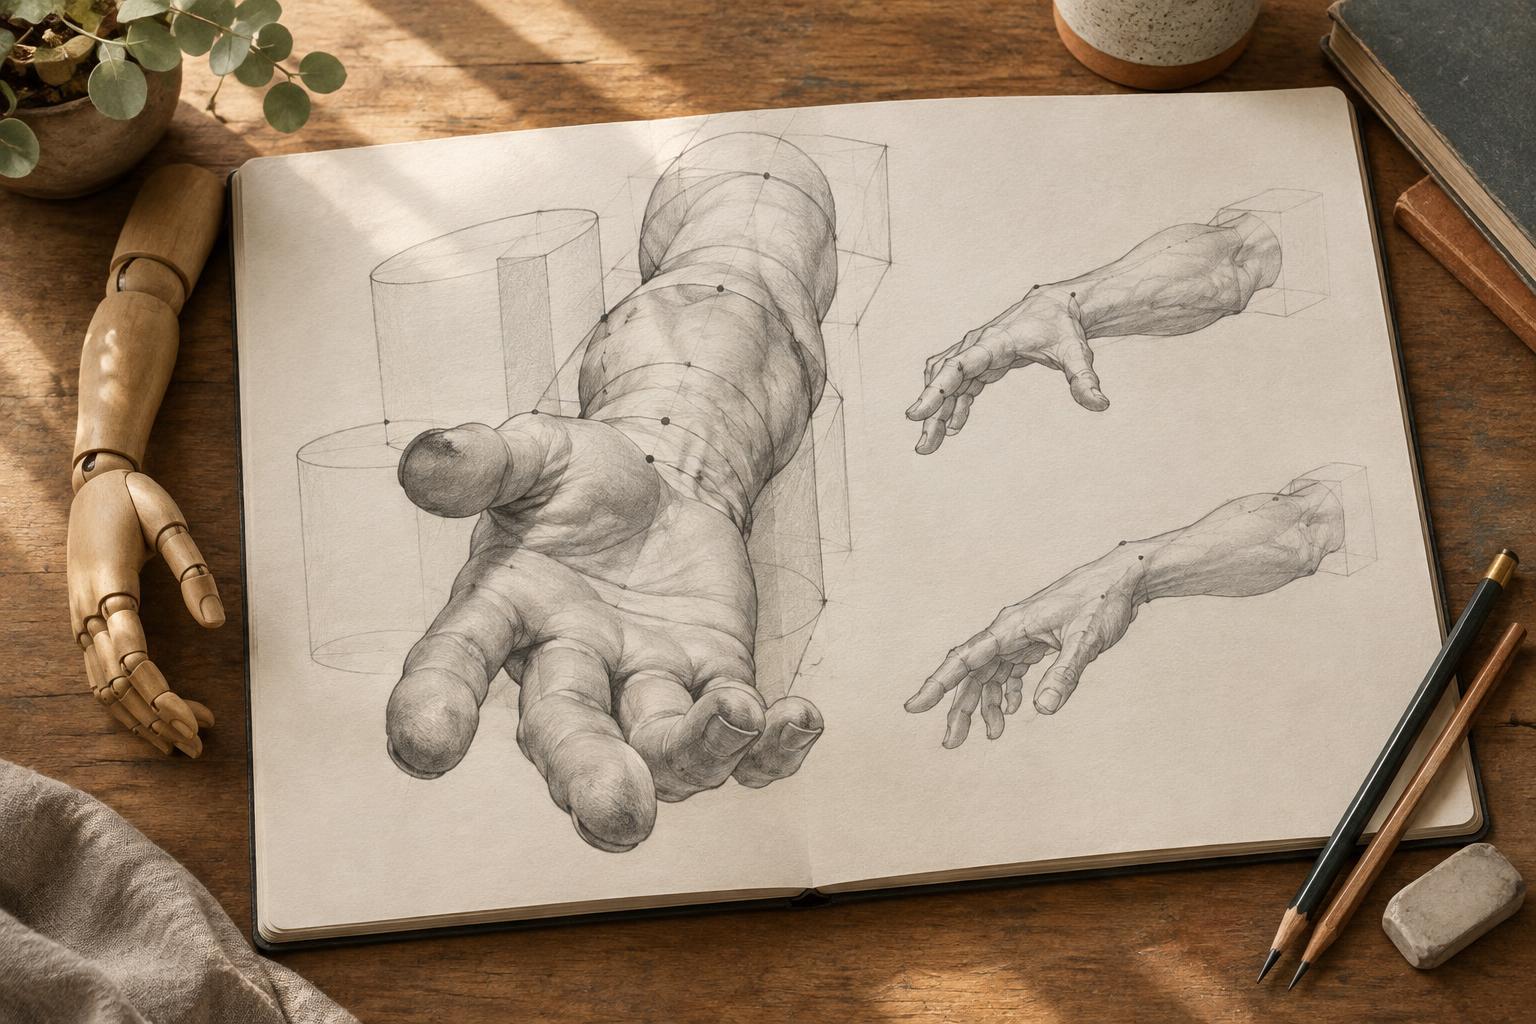
A foreshortened figure or object is easier to manage when you mark a few structural landmarks before adding detail. On a bent arm, those might be the shoulder, elbow, wrist and knuckles. On a chair, they might be the corners of the seat and the points where the legs meet it. Place the landmarks as visible points in the drawing, not as evenly spaced marks based on the object's usual length.
Next, compare relationships across the whole image. Is the near hand wider than the section of arm behind it? Does the elbow sit inside or outside the silhouette of the torso? Which landmark hides another? These comparisons help prevent a common mistake: lengthening a short-looking section until it matches what you know about the object, rather than what its position in space requires.
An underlying volume also helps you distinguish foreshortening from a proportion error. If the landmarks, end faces and connecting edges agree, an unusually short shape may be exactly right. If one part changes width abruptly without a turn, taper or overlap to explain it, revisit the construction before refining the outline.
Let overlap explain the depth
Overlap tells the viewer which part sits in front. In a hand reaching forward, the palm may obscure part of the forearm, while one finger covers another. Draw these interruptions deliberately. A continuous outline that tries to describe every edge at once can flatten the pose; a clear edge that stops behind a nearer form makes the spatial order easier to understand.
Use interior marks sparingly but purposefully. A cross-contour line around a sleeve, a seam on a box or the curved edge of a cylindrical rim can show how a surface faces the viewer. Check that these marks wrap around the volume you constructed. If they contradict its direction, the drawing may feel twisted even when its outside contour looks plausible.
Practice with controlled comparisons
Begin with an everyday object that has an obvious long axis, such as a marker or a small box. Draw it from the side, then turn it gradually toward your eye and make several quick sketches. Keep the object's identity and basic construction the same while noticing how its visible length, end shape and overlapping edges change. This isolates foreshortening from the complexity of a full figure.
For a second exercise, sketch a reaching arm from a mirror or a photo you have permission to use. First mark only the shoulder, elbow, wrist and fingertips. Add cylinders for the major segments, then draw the contour over them. Before making a cleaner version, ask where the depth is clearest and where the form becomes ambiguous. Adjust the size of an end face, an overlap or a landmark rather than automatically adding length.
Finally, try drawing a simple form from imagination and checking it with a real object in a similar position. The aim is not to memorize one perfect diagram. It is to build a repeatable habit: establish direction, construct volume, compare landmarks and make the order of overlapping forms unmistakable.