Decide whether masking fluid is the right tool
Masking fluid creates a temporary barrier over parts of a painting. Once the fluid is dry, you can paint across it and later remove it to reveal the paper beneath. For an illustration with scattered stars, window highlights, or thin gaps between objects, this can be easier than painting around every small shape.
It is less useful when the protected area needs a soft edge. Masking fluid usually leaves a firm boundary, and the newly exposed paper may look conspicuously white beside layered washes. If you want a gentle transition, consider leaving the shape unpainted by hand and softening its edge with a damp brush. For a larger white area, careful painting around it may be simpler than coating and removing a broad patch of fluid.
Before opening the bottle, mark the intended white areas on a small sketch. Ask which shapes truly need to stay untouched and which could be added later with another material. Using fluid only where it solves a specific painting problem reduces the amount you have to remove.
Test the fluid and prepare the paper
Masking fluid does not behave the same way on every sheet. Surface texture, sizing, prior erasing, and earlier washes can all affect how securely the paper holds together. Make a test on a spare piece of the same paper: apply a small mark, let it dry, paint over it, and remove it only after the paint is dry. Check for lifted fibers, discoloration, or residue before using it on the illustration.
Apply fluid to clean, dry paper unless the product instructions specify otherwise. Moisture or a still-damp wash can make placement unpredictable and may increase the chance of disturbing the surface later. If you have drawn a pencil guide, keep it light; heavy erasing underneath the fluid can weaken the surface you are trying to protect.
Keep a scrap sheet nearby for testing the amount of fluid on your applicator. A small amount is usually easier to place accurately than a loaded brushful. Protect the work surface and close the bottle between uses so fluid on the rim does not dry into pieces that might fall onto your artwork.
Apply a controlled layer
Choose an applicator that matches the shape. A silicone-tipped tool or a dip pen can help place dots and narrow lines; a brush may suit broader, irregular forms. If you use a brush, reserve an inexpensive one for this task, since dried fluid can be difficult to remove from its bristles. Avoid scrubbing the paper as you apply the fluid.
Aim for a continuous layer that covers the intended shape without pooling heavily at its edges. Gaps can let paint reach the paper, while thick ridges may take longer to dry and be harder to remove cleanly. Look across the sheet in angled light to spot missed areas, but resist repeatedly brushing over fluid that has begun to set.
Let the mask dry fully before painting over it. Drying time varies with the product, layer thickness, and room conditions, so follow the product directions rather than relying on a fixed number of minutes. Paint gently around the masked areas, especially if you are making repeated washes; the mask protects the white shape, but it does not make the surrounding paper resistant to overworking.
Remove the mask and finish the exposed shapes
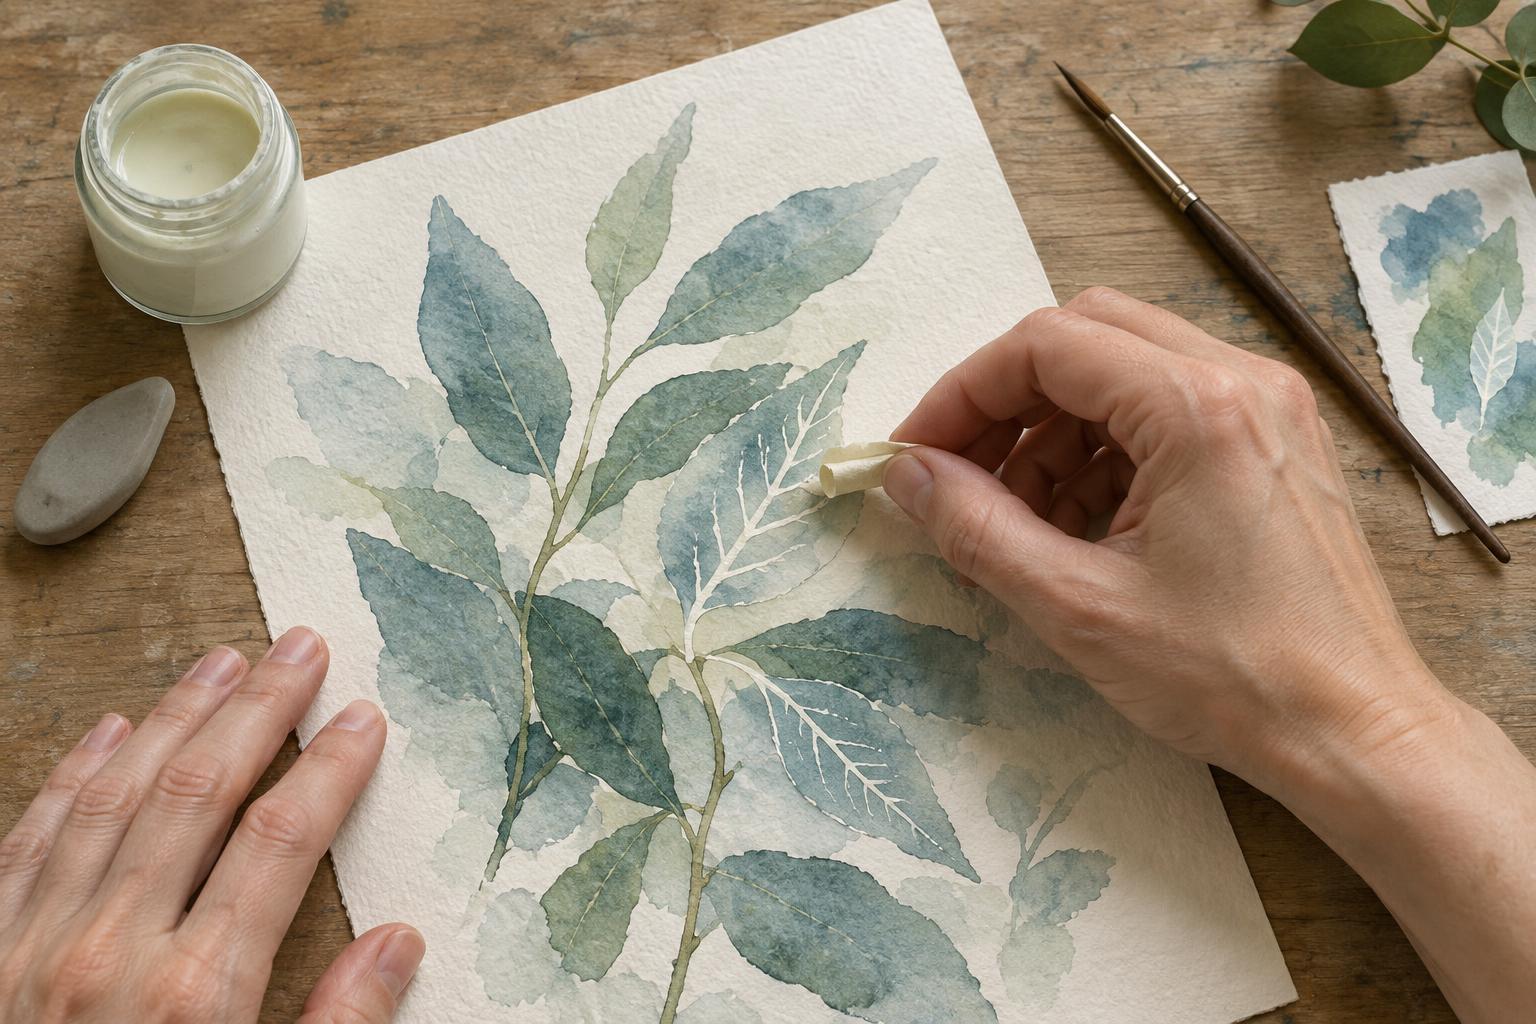
Wait until the paint and paper are completely dry before removal. Start at one edge of a masked shape and lift the fluid slowly with a clean fingertip or a tool intended for removing masking fluid. Work across the surface with light pressure rather than digging at one stubborn spot. If the paper begins to roughen or peel, stop and reconsider how to finish that area instead of forcing the remaining fluid away.
Once the mask is off, assess the revealed white shapes in the context of the whole illustration. A few crisp highlights may be exactly what the composition needs. If an edge feels too sharp, a carefully controlled touch of paint can help connect it to its surroundings, provided the paper surface is intact. Leave damaged fibers alone until the sheet is dry; additional rubbing is unlikely to restore them.
For future pieces, keep the successful test scrap with a note naming the paper and fluid used. That small reference is more useful than assuming a method that worked on one sheet will work on every sheet. Masking fluid is most reliable when treated as a temporary, tested tool—not a guarantee that the paper underneath will remain untouched.