Start with the final surface
A rough sketch is a place to solve problems. Final paper is where those decisions need to become clear, usable lines. Moving a sketch between the two lets you keep the energy of the original without carrying over every erased shape and construction mark. A light box and transfer paper can both do the job, but the better choice depends less on drawing style than on the paper, the marks you want, and how much of the sketch you need to preserve.
Before choosing a method, hold the final sheet over the sketch in ordinary light. If you can already see the important lines, a bright window or desk lamp may be enough. If the paper is too opaque, transfer paper may be simpler. Also consider the final medium: a pale pencil guide that disappears beneath ink is different from a dark transferred line that might remain visible under a light wash.
When a light box works best
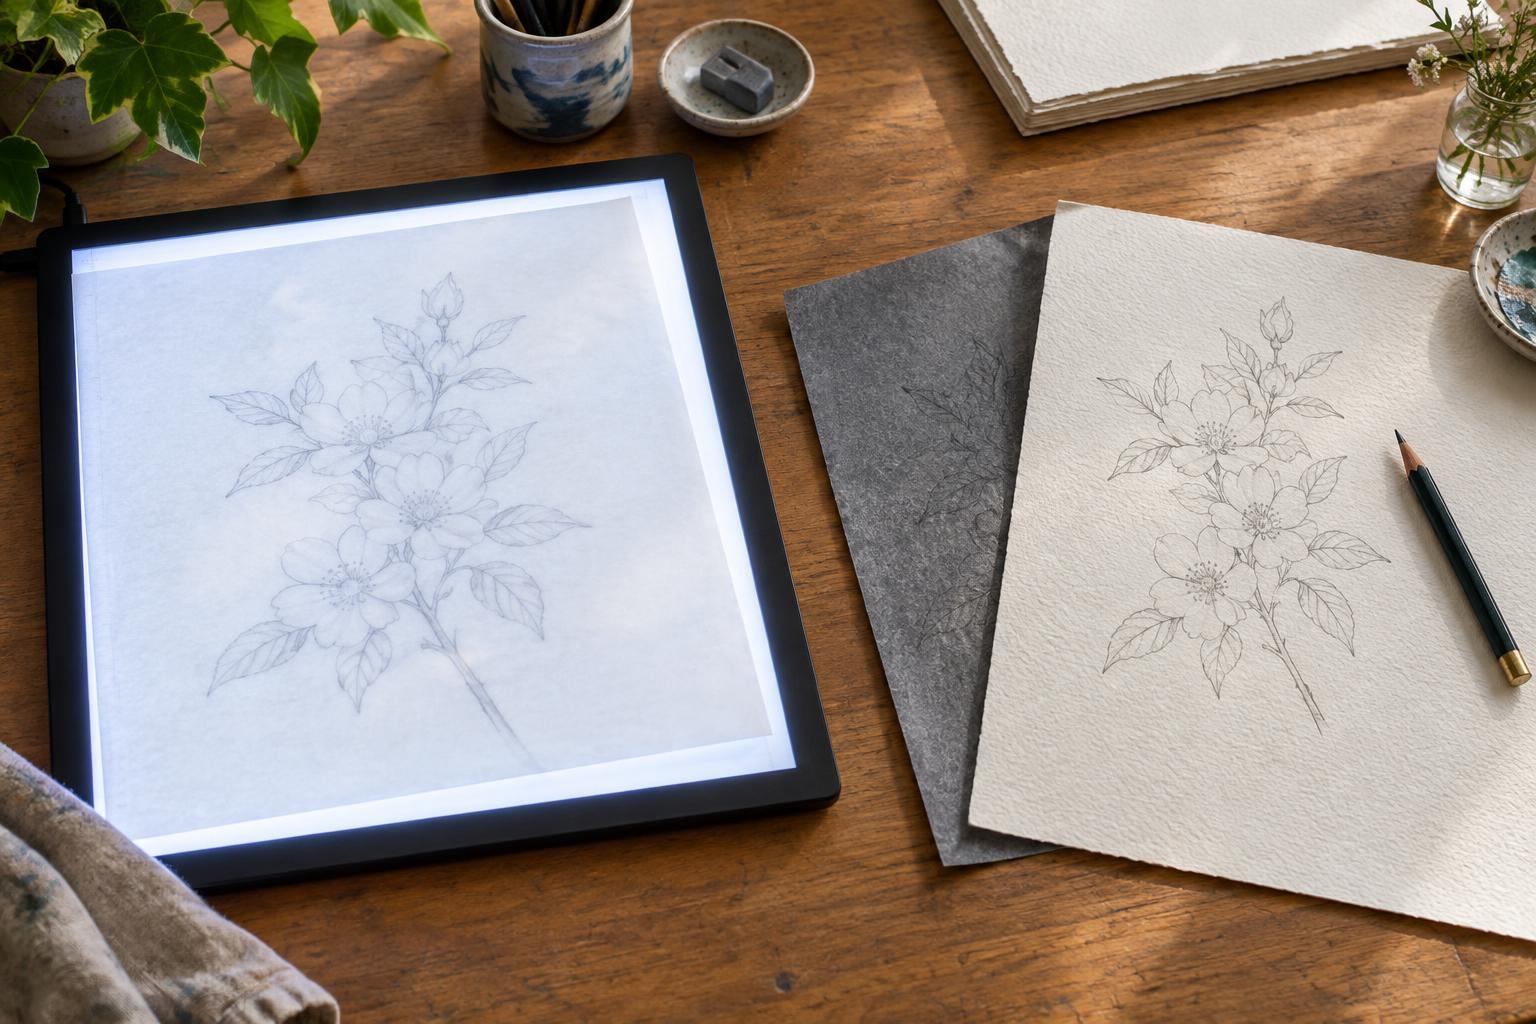
A light box shines through the sketch and the final sheet so you can redraw visible lines directly. Because nothing is deposited on the final paper until you make a mark, you control which parts of the rough sketch come forward. You can simplify a crowded shape, adjust an expression, or change the weight of a contour while tracing. This makes a light box especially useful when the sketch is exploratory rather than a set of lines you want copied exactly.
The main limitation is visibility. Thick, dark, heavily textured, or tinted paper can obscure the sketch even with a bright light beneath it. If the image is faint, darken only the essential lines on the sketch or make a cleaner intermediate drawing instead of pressing hard on the final sheet. Secure the papers at one edge with tape suitable for your surface, so you can lift the top sheet to check progress and lower it again without losing alignment. Let your drawing hand rest lightly: tracing with a heavy touch can dent paper intended for delicate ink or watercolor.
When transfer paper is the easier choice
Transfer paper places a coated sheet between the sketch and the final surface. As you trace the sketch from above, pressure leaves a line below. It is useful when light will not pass through the final material, such as thicker paper or board. It can also help with a small, precise design whose placement matters, because the original sketch stays visible while you follow it.
The trade-off is that transferred marks can be darker or harder to remove than expected, depending on the paper and coating. Different products may use graphite, carbon, or other pigments, so test a corner or scrap of the actual final surface before transferring the whole drawing. Check whether the line erases cleanly and whether it smudges under your intended ink, paint, or hand. Place the coated side toward the final paper, tape the stack to prevent shifting, and trace with steady, moderate pressure. Excess pressure can emboss the sheet as well as leave a mark.
Choose by the line you need next
If you want freedom to edit as you move the drawing, choose a light box when the final paper is transparent enough. Draw only the landmarks and contours needed for the next stage; there is no requirement to reproduce every rough line. If the surface blocks light or you need to preserve exact placement, try transfer paper. For an image that will stay pale or partly unpainted, use the lightest workable guide and test whether it can be removed without disturbing the surface.
Some projects benefit from both methods. You might use a light box to turn a messy thumbnail into a clean drawing on thin paper, then transfer that drawing onto heavier final paper. This adds a step, but it separates two decisions: what the image should look like and how to place it on the final surface. It can be particularly helpful for a comics panel or illustration with lettering, borders, or repeating elements that must stay aligned.
Make a clean transfer part of the drawing process
Whichever method you use, mark a few alignment points on a separate margin or lightly outside the image area before you begin. Check the orientation of any lettering, look at the stack from more than one angle, and lift an edge periodically to confirm that lines are appearing where you expect. Keep hands and tools clean, and protect exposed paper from rubbing against a coated sheet.
A transferred sketch is a guide, not an obligation. Once the drawing is on the final surface, pause before inking or painting. Remove lines that no longer help, correct shapes that felt awkward during tracing, and decide where the finished image needs clarity rather than detail. The best transfer method is the one that leaves you with a surface and a set of marks you can work with confidently.