Begin with one clear light source
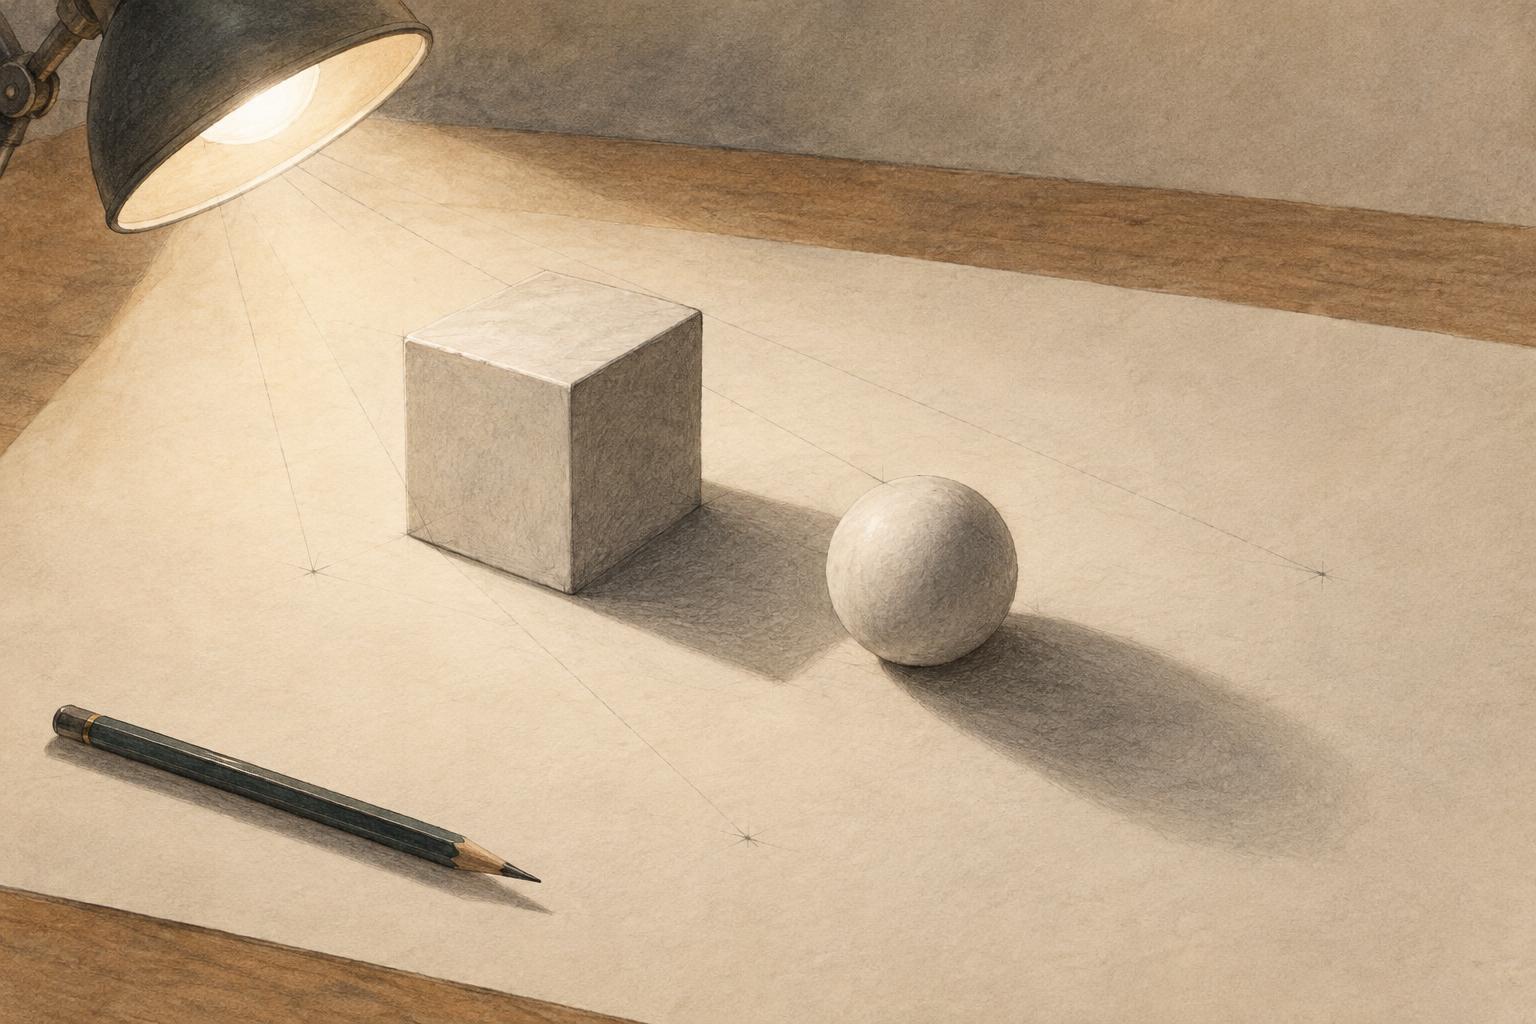
Shading becomes easier when you treat light as a direction rather than a collection of highlights and dark patches. Before drawing, place a sphere, cube, or cylinder under one lamp. Turn off or move other nearby lights if you can. Look for the side facing the lamp, the side turned away from it, and the shadow falling onto the table. These broad relationships matter more than small changes in tone.
Make a thumbnail drawing and mark the light source with an arrow outside the subject. Then draw the form’s outline and the boundary between its light and shadow areas. Do not blend yet. This first map gives every later mark a purpose: it either supports the light side, supports the shadow side, or describes the surface beneath the object.
See light and shadow as connected shapes
On a rounded form, the transition from light to shadow is often gradual. The turning point is called the terminator: the region where the surface stops facing the light directly. A darker band may appear just inside the shadow, while light bouncing from the surroundings may soften the shadow’s outer edge. That bounced light usually remains darker than the directly lit side. Keeping this distinction helps the sphere read as round instead of striped.
A cube offers a simpler map. Each visible plane faces the light at a different angle, so it can be assigned a distinct value. Start with three tones: a light plane, a middle plane, and a shadow plane. Avoid shading each plane independently from pale to dark unless the lighting calls for it. Clear differences between planes do more to explain the cube than elaborate texture.
Also separate the form shadow, which lies on the object, from the cast shadow, which falls on another surface. The cast shadow connects the object to its setting. Its shape depends on both the object and the direction of the light, so check where it begins and which way it extends before filling it in.
Compare how basic forms turn
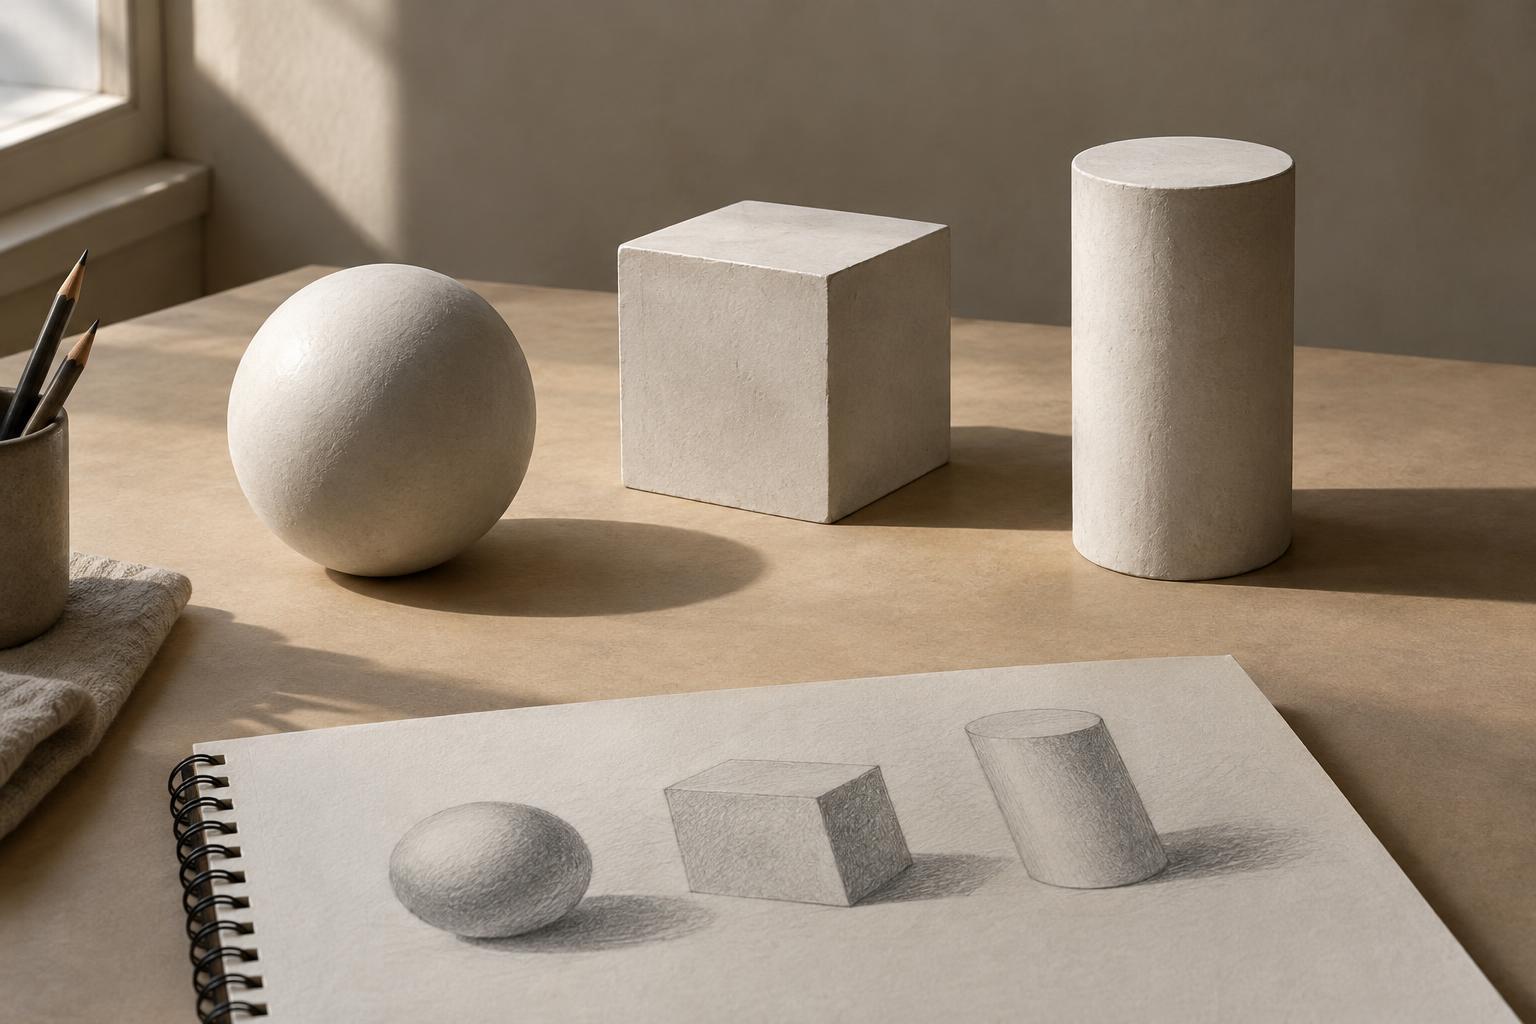
A cylinder combines a flat end with a curved side. Its side moves gradually from light through middle tone into shadow, much like part of a sphere. Its circular end can have a noticeably different value because it faces another direction. Draw the ellipse carefully, then let the shading follow the cylinder’s length rather than breaking it into unrelated vertical streaks.
A cone narrows that curved transition toward its tip. Its cast shadow can be especially useful for checking the light direction: if the light is on the left, the shadow generally extends to the right. A sphere’s cast shadow will differ from a cone’s, but both should agree with the same light source. When drawing several forms together, compare them often. Their highlights need not match exactly, but their lighting should feel as though it belongs in one scene.
Build a useful value range
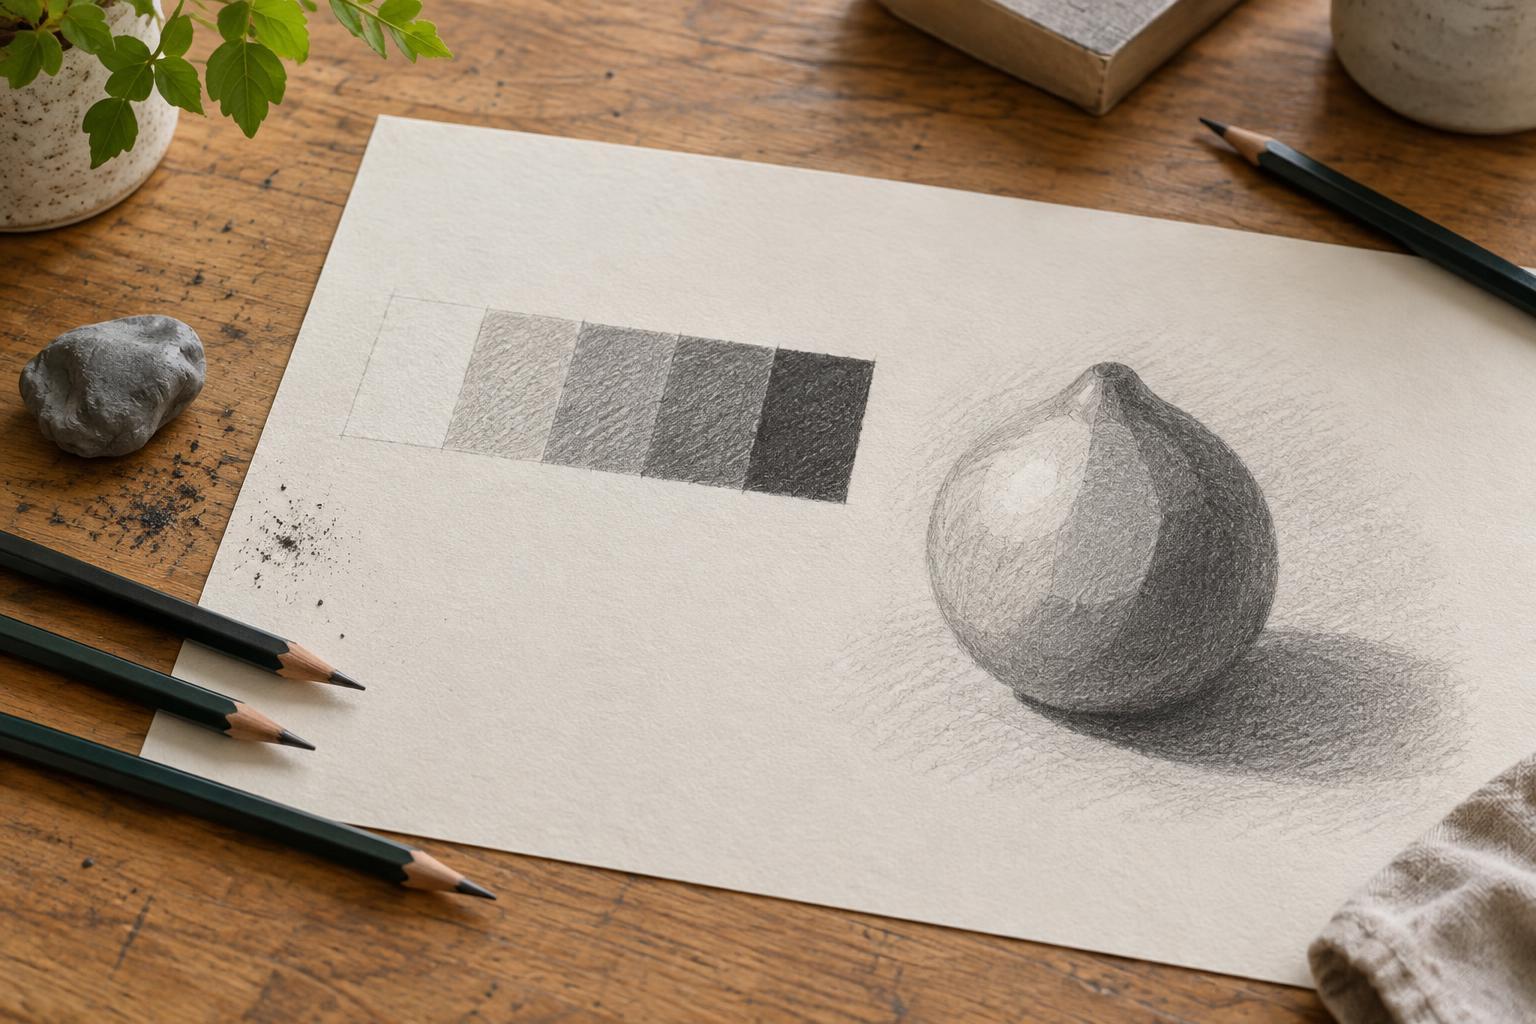
Before making a finished study, draw a small scale from paper white to your darkest pencil mark. Select a light, a middle, and a dark value from that range. Assign them to the large shapes in your subject, reserving the brightest paper for the strongest light. This prevents a common problem: filling the light side with midtone so early that there is no room left to show the shadow clearly.
Block in shadows with even pressure before refining edges. A firm edge may help define a cast shadow close to an object, while a softer edge can describe a rounded surface turning away from the light. Edge softness is not a rule to apply everywhere; compare what you actually see. If a drawing looks flat, check the size and placement of its value shapes before adding darker outlines.
Try a repeatable observation exercise
Set a plain object on a light-colored table and aim one lamp at it. Spend two minutes making a thumbnail with only the light and shadow shapes. Spend five more minutes on a second drawing using three values. For a third drawing, allow yourself a fuller range and softer transitions. Keep the lamp and object in place so you can compare what each approach reveals.
Finish by asking three questions: Is the light source clear? Does the form shadow help describe the object’s volume? Does the cast shadow place it on the table? If one answer is no, revise the large shapes first. Repeat the exercise with a sphere, cube, and cylinder. The goal is not perfectly smooth shading, but a reliable way to see and organize light before detail takes over.