What pencil sighting can tell you
When you draw from observation, it is easy to give a familiar object the proportions you expect it to have rather than the proportions you see. Holding a pencil at arm’s length gives you a temporary measuring stick. You can compare one visible length with another, then use that relationship to plan your drawing.
The method measures relative proportions, not real-world dimensions. If a vase appears twice as tall as it is wide from your viewpoint, that comparison can guide the shape on your page regardless of the vase’s actual size. Sighting also helps you check angles and alignments: whether one edge slopes more than another, or whether a feature sits directly above a point below it.
Use the pencil as a check, not as a substitute for looking. A few deliberate measurements can anchor a sketch while leaving room for observation, adjustment and expressive marks.
Set up a consistent view
Choose a subject that will stay still, such as a mug, a box or a small group of objects. Sit or stand where you can see both the subject and your drawing surface comfortably. Once you begin, try to keep your viewing position steady. Moving your head changes how parts of the subject line up, which can make two careful measurements disagree.
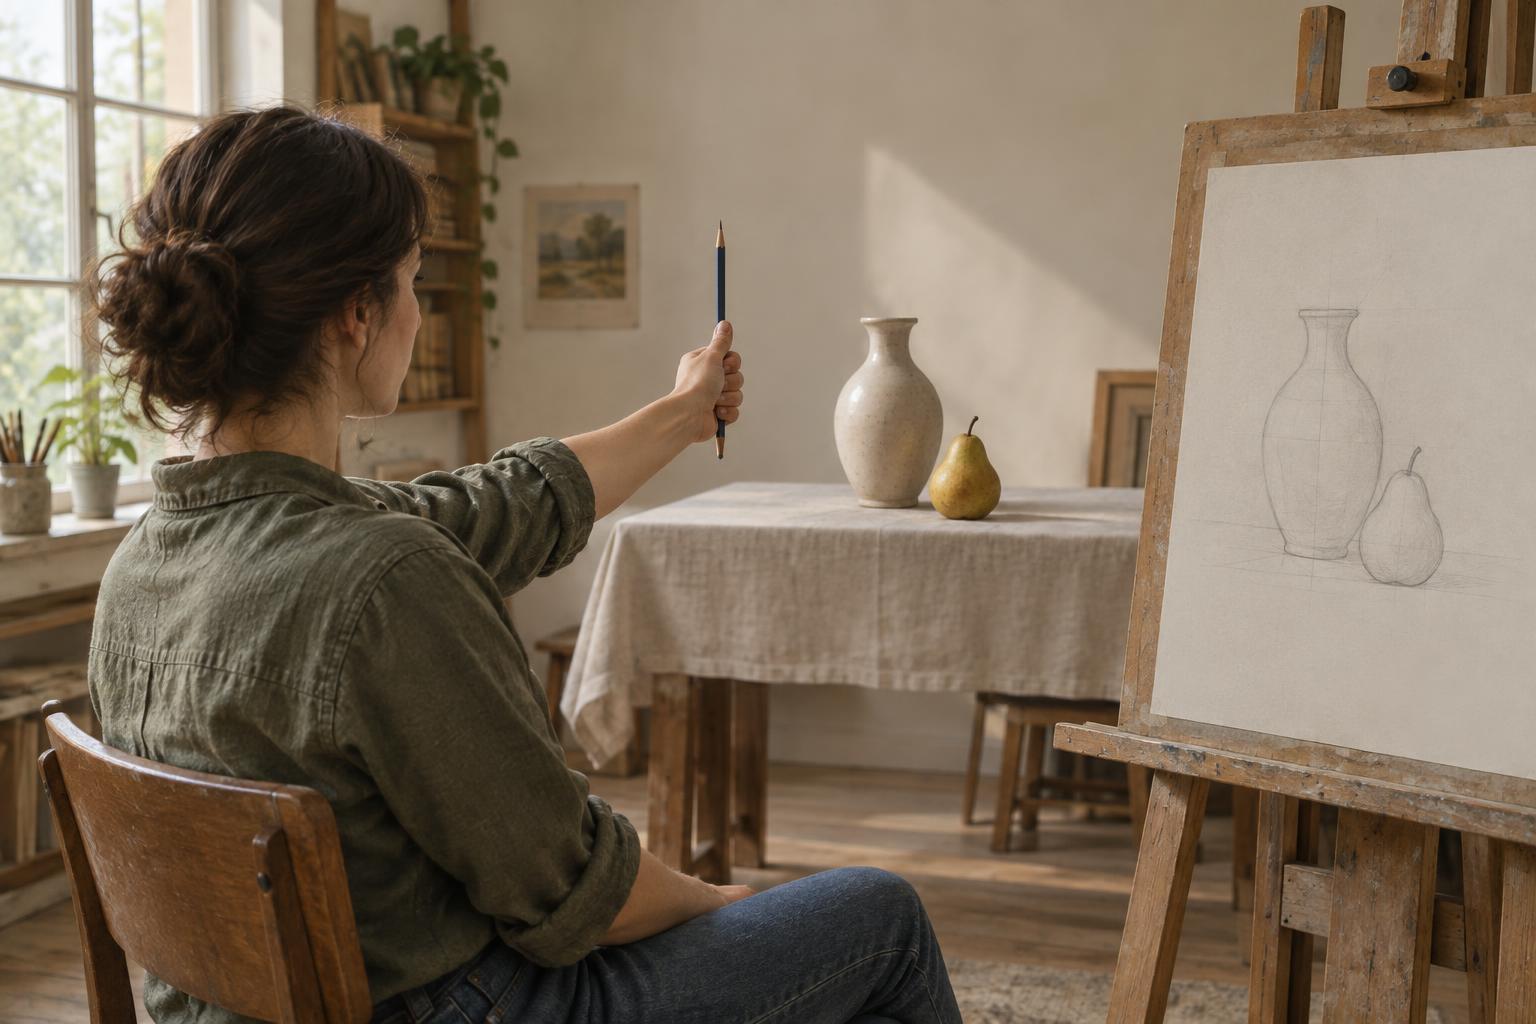
Hold a straight pencil in your hand and extend your arm fully toward the subject. Close one eye each time you measure, using the same eye throughout. This gives you a consistent view rather than two slightly different ones. Keep the pencil at roughly the same distance from your eye for every comparison; bending your elbow between measurements changes the apparent size of the subject against the pencil.
You do not need to hold this position while drawing. Pause, take a sighting, lower your arm and make a mark. Return to the same pose when you check it.
Compare a height with a width
Start with the subject’s overall height. Hold the pencil upright, line its tip up with the top of the subject and slide your thumb down the pencil until it marks the bottom. Keep your thumb in place. Rotate the pencil sideways and see how that measured length compares with the subject’s width. For example, does one height span the width once, or does it extend beyond it? An approximate answer is enough to improve an initial sketch.
You can also measure a smaller, clear feature and see how many times it fits into a larger one. On a mug, compare the visible height of the handle with the height of the body. On a box, compare the front edge with its top edge as they appear from your position. Record the relationship in your drawing rather than copying the length between your pencil tip and thumb onto the page.
Make a light envelope first: a simple shape marking the subject’s outer limits. Then place the largest internal divisions. If the whole shape is too wide or too short, correct it before developing details. Small features are easier to position once the larger proportions are sound.
Check angles and alignments
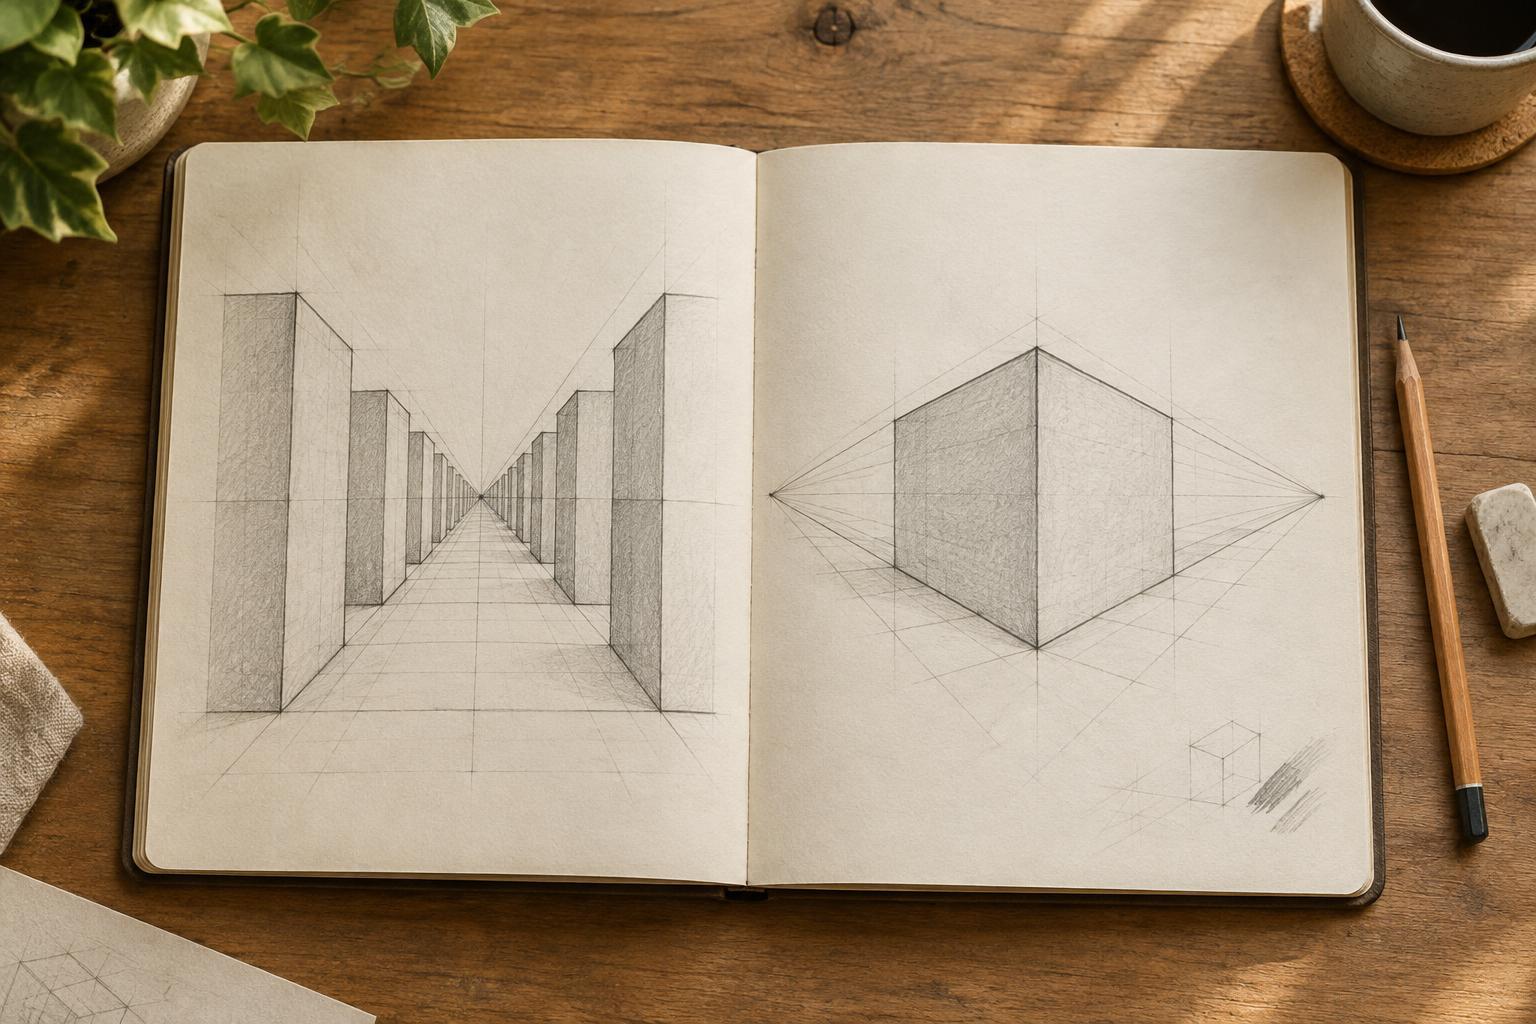
For an angle, hold the pencil in front of the subject and rotate it until it follows the edge you want to study. Notice the tilt, then compare it with the corresponding line in your drawing. Check each important edge separately, especially when drawing a box or another form whose edges recede in different directions. What looks horizontal in the object may slope in your view.
To check alignment, hold the pencil vertically and see which features fall along the same line. Perhaps the left edge of a handle sits beneath the rim, or the corner of a book aligns with a point on the object behind it. A horizontal check can show which points sit at similar heights. These observations help you place parts in relation to one another without relying on a mental image of the object.
Keep the pencil in front of you for these checks, and return to your usual viewing position each time. The goal is to compare what you see from one viewpoint, not to trace an object’s edges in the air.
Practice with short, repeatable checks
Try a ten-minute study of a single object. First, draw its outer shape without measuring. Next, use the pencil to check its height against its width, the size of one major feature and two important angles. Make corrections in a different mark weight so you can see what changed. Repeat the exercise with a new object, or turn the first object and draw it from another view.
If measurements seem inconsistent, check your process before erasing the drawing. Did you bend your arm, switch eyes, tilt your head or measure from a different position? Also be clear about which edges you are comparing: the visible width of an angled box is not the same thing as the length of one of its sides.
With practice, sighting becomes a quick way to ask better questions of a drawing. Instead of deciding that a shape simply looks wrong, you can check whether it is too wide, whether an edge tilts too far or whether two features no longer align.