Start with the direction you are looking
Perspective helps a flat drawing suggest depth. In both one-point and two-point perspective, the horizon line represents the viewer’s eye level. Vanishing points sit on that line, and sets of parallel edges appear to converge toward them as they recede. These are construction tools, not lines that need to appear in the finished image.
The quickest way to choose between the two systems is to look at the subject’s orientation. Are you facing a flat wall or the front of a box? One-point perspective is usually the simpler starting point. Are you looking toward a corner, with two sides of the box visible? Two-point perspective usually describes it better. Neither is inherently more advanced or more realistic; each answers a different spatial question.
Use one-point perspective for a direct view
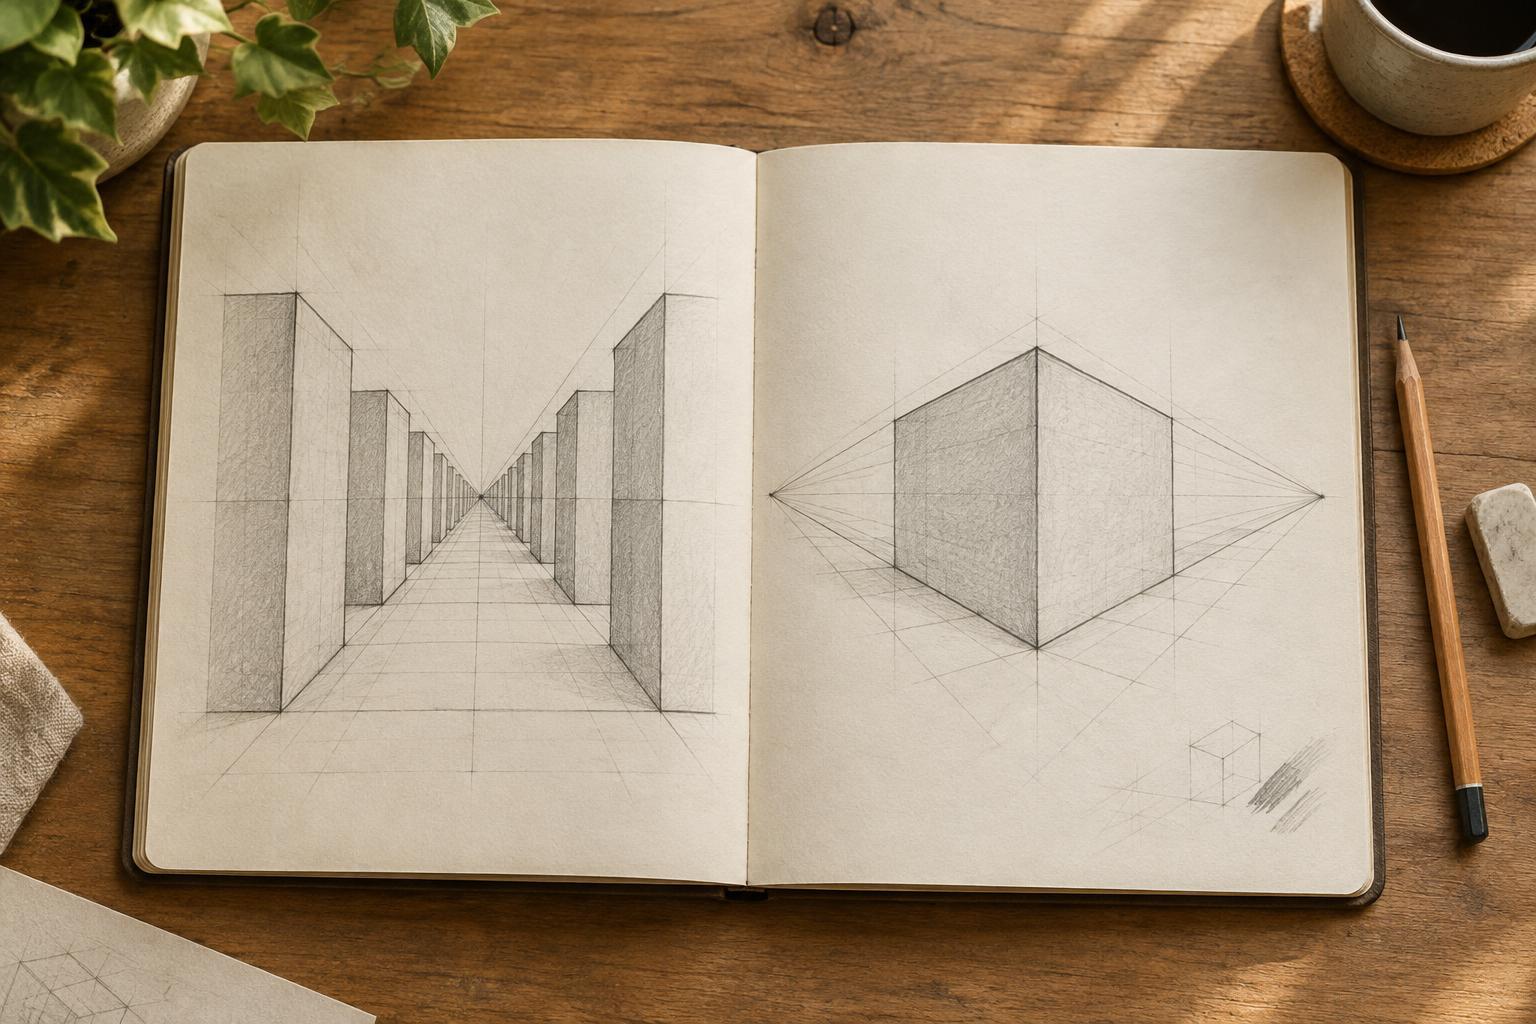
In one-point perspective, one set of edges recedes toward a single vanishing point. Edges that face you remain horizontal or vertical in the drawing. Imagine looking straight down a hallway: the floor and ceiling edges lead toward the same distant point, while the doorway at the end keeps its rectangular shape.
This setup is useful for corridors, roads, shelves viewed head-on, and rooms where the far wall is the main feature. It can also give an illustration a strong sense of focus. Receding edges guide the eye toward a doorway, figure, or other point of interest. A centered vanishing point often feels orderly or symmetrical, but placing it off-center can make the composition less formal without changing the underlying system.
One-point perspective is not a rule that every visible edge must meet at one point. Only edges running in the chosen depth direction do so. Drawing the front face of a box first, then extending its corners toward the vanishing point, makes that distinction easier to see.
Use two-point perspective to show a corner
In two-point perspective, two sets of horizontal edges recede toward two different points on the horizon. Vertical edges generally stay vertical. Picture standing in front of the corner of a building: one wall runs away to the left, and the other runs away to the right. Each wall needs its own vanishing point.
This approach works well for buildings, furniture, street scenes, and objects you want to turn in space. Showing two sides gives the viewer more information about an object’s form. It also offers a useful compositional choice: moving the nearest vertical edge left or right changes how much of each side is visible.
Place the two vanishing points fairly far apart when you can. Points crowded close together may make an ordinary box look sharply stretched. If your paper is small, you can imagine the points beyond its edges or attach scrap paper while constructing the drawing.
Choose for the scene, not for every object at once
A whole illustration does not always fit neatly into one labeled setup. You might draw a room in one-point perspective and place a rotated chair inside it. The chair can have its own edge directions while still sharing the room’s eye level. The useful question is which orientation governs the main structure of the scene.
Before adding detail, lightly sketch the horizon and the largest simple boxes. Check whether the edges that should be parallel in space aim toward a consistent point. Then decide what deserves precision. A doorway, tabletop, or building facade may need careful construction; a small background object may only need to feel plausible. Perspective should support the story and readability of the image, not become the subject of every drawing.
Practice by drawing the same box both ways
For a short exercise, draw a horizon line and mark one vanishing point. Draw a rectangle below the horizon, then connect its corners toward the point to make a box viewed from the front. Add a second rectangle farther back to close the form. Notice which edges stay horizontal and vertical, and which recede.
Next, mark two widely spaced points on a fresh horizon. Draw one vertical line between them for the nearest corner of a new box. Extend lines from its top and bottom toward both vanishing points, then add vertical lines to set the width of each visible side. Comparing the two boxes makes the choice tangible: one presents a face; the other presents a corner.
Finally, try a simple subject such as a desk or a shopfront. Sketch it once straight on and once from an angle. Ask which view reveals the information you need and where it directs the viewer’s attention. That decision, more than the number of vanishing points, is the foundation of a useful perspective drawing.