Start with the light and the receiving surface
A cast shadow appears where an object blocks light from reaching another surface. Before drawing its outline, decide where the light is and what the shadow will fall on. A figure standing on a floor, for example, may cast a shadow across the floor and up a wall. Those are two receiving surfaces, so the shadow must change direction where they meet.
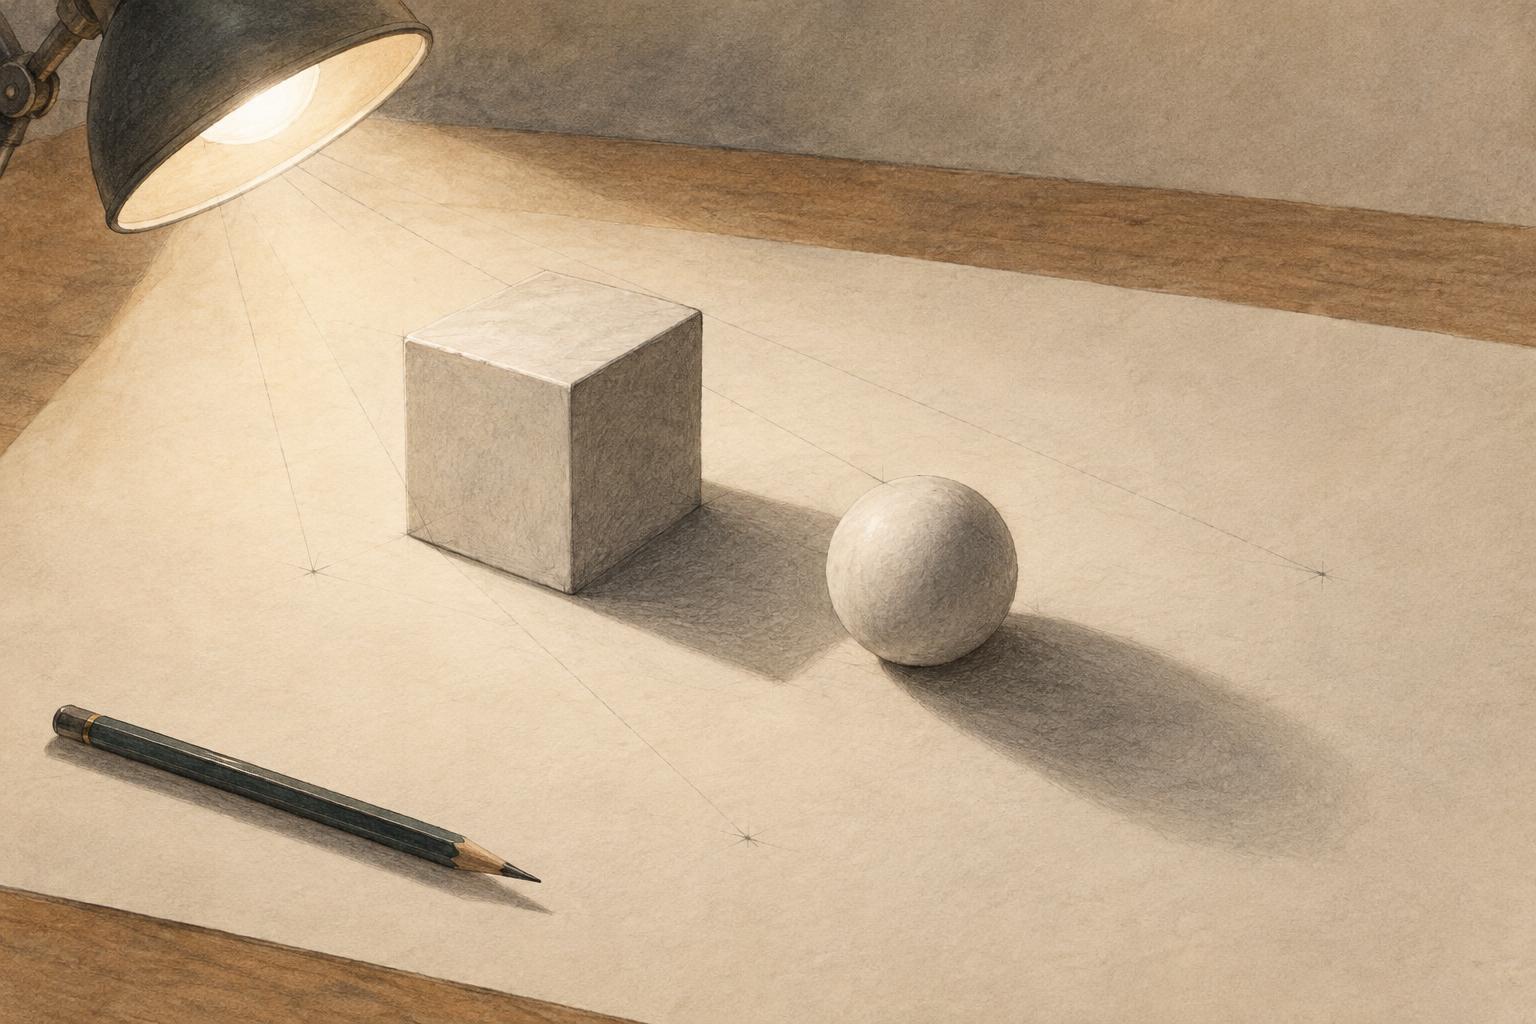
For a first exercise, use one object on a flat floor and one small, fixed light source. Mark the light with a dot outside the object. If you are working from imagination, also mark the point on the floor directly below the light. This floor point gives you a reference for the shadow’s direction. Keeping the setup simple makes it easier to see why each part of the shadow lands where it does.
Find the direction before drawing the shape
Light travels outward from its source. On a level floor, the cast shadow extends away from the floor point beneath the light, passing through the object’s contact area. A light to the left tends to send the shadow to the right; a light in front of the object tends to send it behind. A low light generally produces a longer floor shadow than a high light in a comparable setup.
Do not confuse the light’s position on the page with its position in the scene. A light drawn high in an illustration might also be far forward or far behind the object. Make a quick plan view if the direction is unclear: draw the floor as seen from above, mark the light’s floor point and the object’s position, then draw a line between them. That line gives you a dependable direction to carry into the finished view.
Project a few useful points
To estimate the shadow’s reach, choose a point on the object, such as the top of a post. Imagine a straight ray from the light through that point. Extend the ray until it meets the floor; that meeting place is where the point’s shadow falls. Repeat this for a few points around the silhouette, especially corners, protrusions and changes in height. Connect their landing places to build the shadow’s outer edge.
You do not need to plot every contour. For a box, the upper corners and the corners touching the floor are usually enough to establish a useful shape. Points at floor level stay at their contact positions, while raised points project outward. If the shadow reaches a wall, stop each ray where it meets the wall and continue constructing the outline on that surface. Treating the floor and wall separately helps prevent a flat shadow shape from appearing to pass straight through the corner.
In a perspective drawing, check the projected shape against the floor’s perspective. Parallel edges of a box may cast shadow edges that appear to converge in the image rather than stay parallel on the page. A loose construction with a handful of rays is often more convincing than a carefully shaded outline drawn in the wrong direction.
Use edges and values to explain the scene
The geometry establishes where the shadow goes; its edge tells the viewer something about the light. A small light source often gives a more defined edge. A broad light source can create a softer transition, particularly farther from the object. Even with one light, the shadow need not have one uniform edge: it may look crisp near a foot touching the ground and softer at the far end.
Keep the cast shadow distinct from the object’s own shaded side. The shaded side turns away from the light but remains part of the object; the cast shadow lies on a receiving surface. Both can be dark, yet their values depend on the surrounding illumination and the surfaces involved. Start with a simple, consistent shadow value, then adjust it only as much as the drawing needs for clarity. Leave enough surface detail visible to show whether the shadow crosses a floor, fabric or wall.
Practice with one change at a time
Draw the same cup, block or small figure three times on a flat plane. Keep the object in place and move only the light: first high, then low, then to the opposite side. For each drawing, mark the light, draw two or three construction rays, and block in the shadow before adding any rendering. Compare the results. The shadow should change direction or length for a reason you can point to.
For a final check, ask whether the shadow begins at the object’s contact area, travels away from the light and follows the surface beneath it. If it does, you can simplify its contour without losing the sense of light. That is a useful goal in both observational drawing and stylized illustration: construct the shadow clearly first, then decide how much detail the image needs.