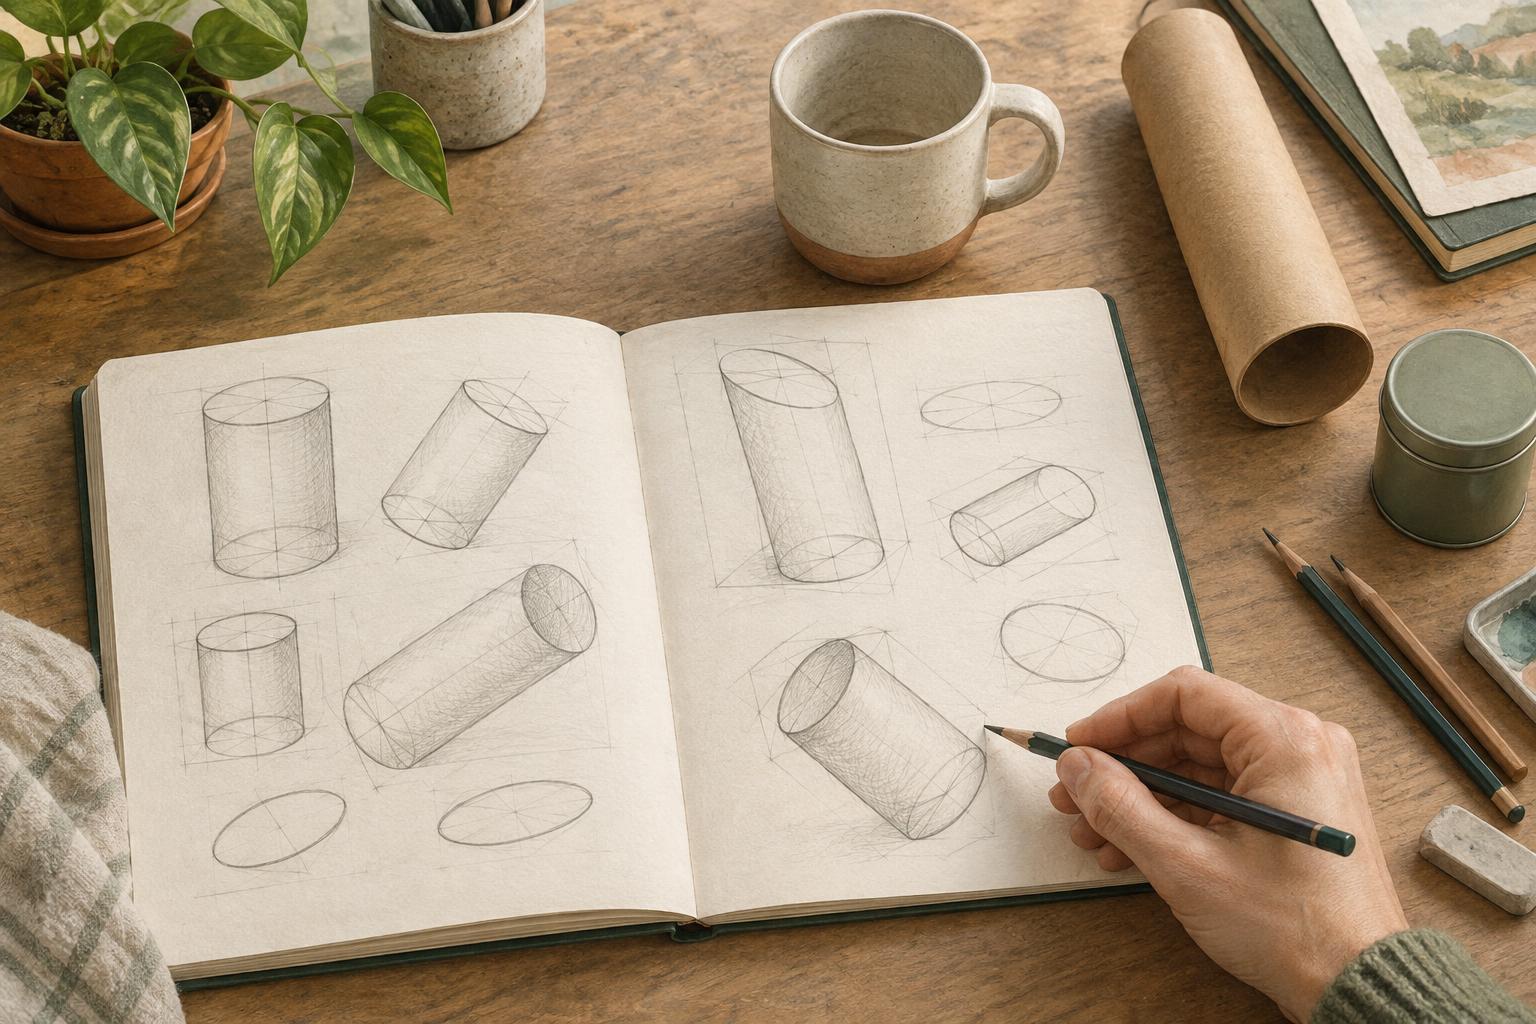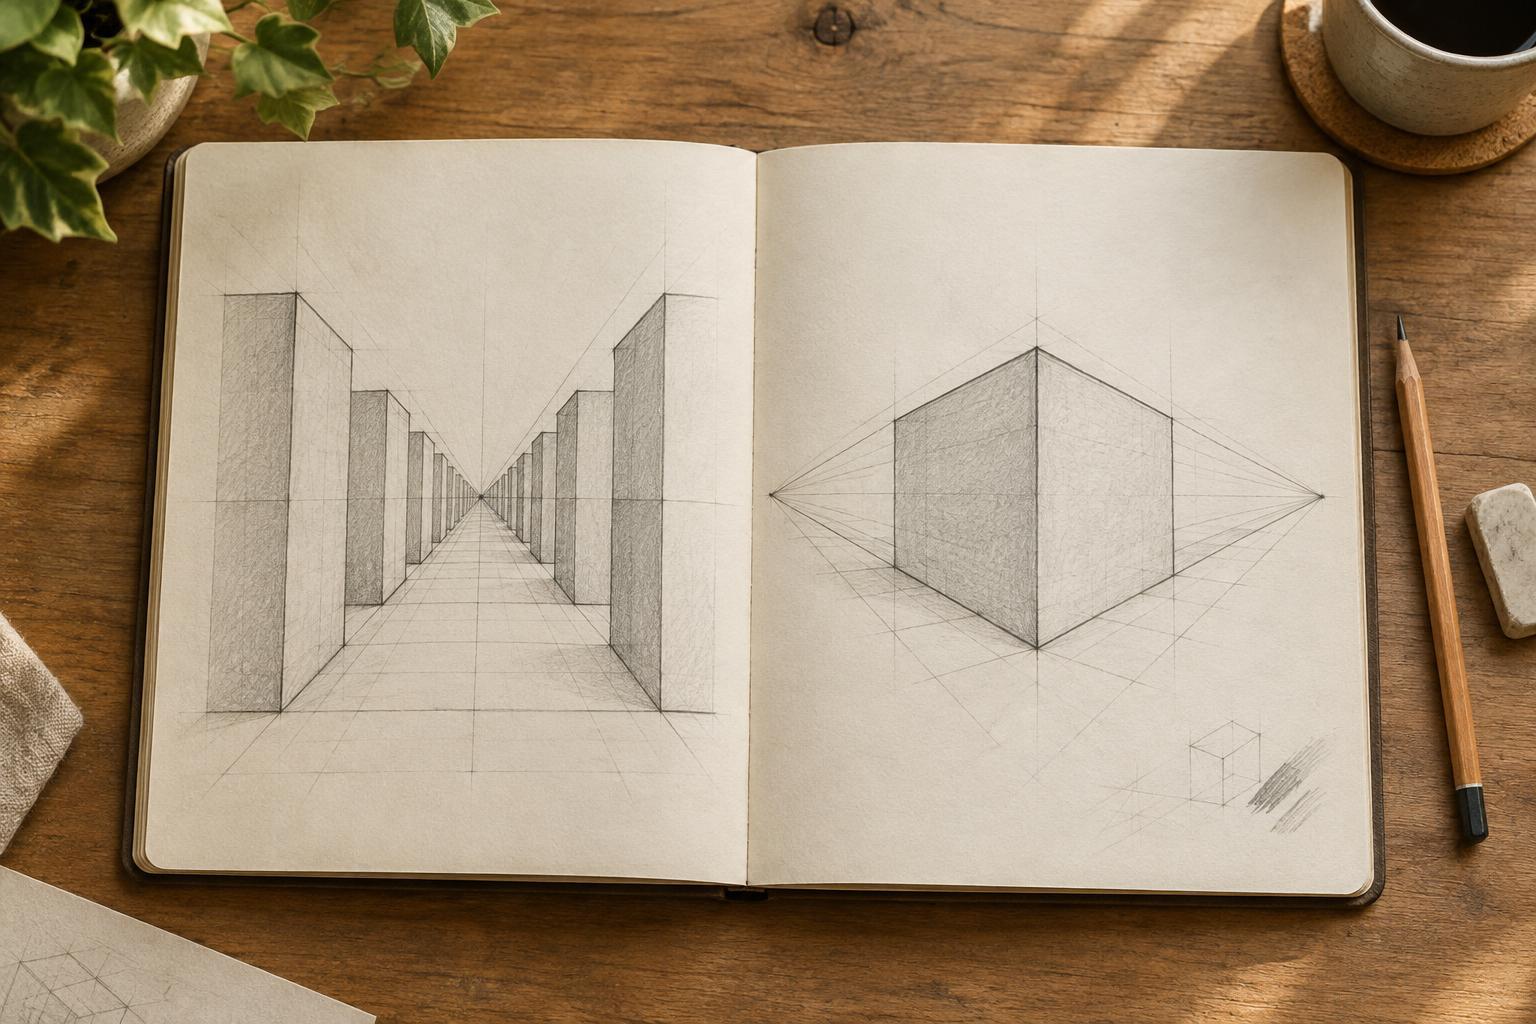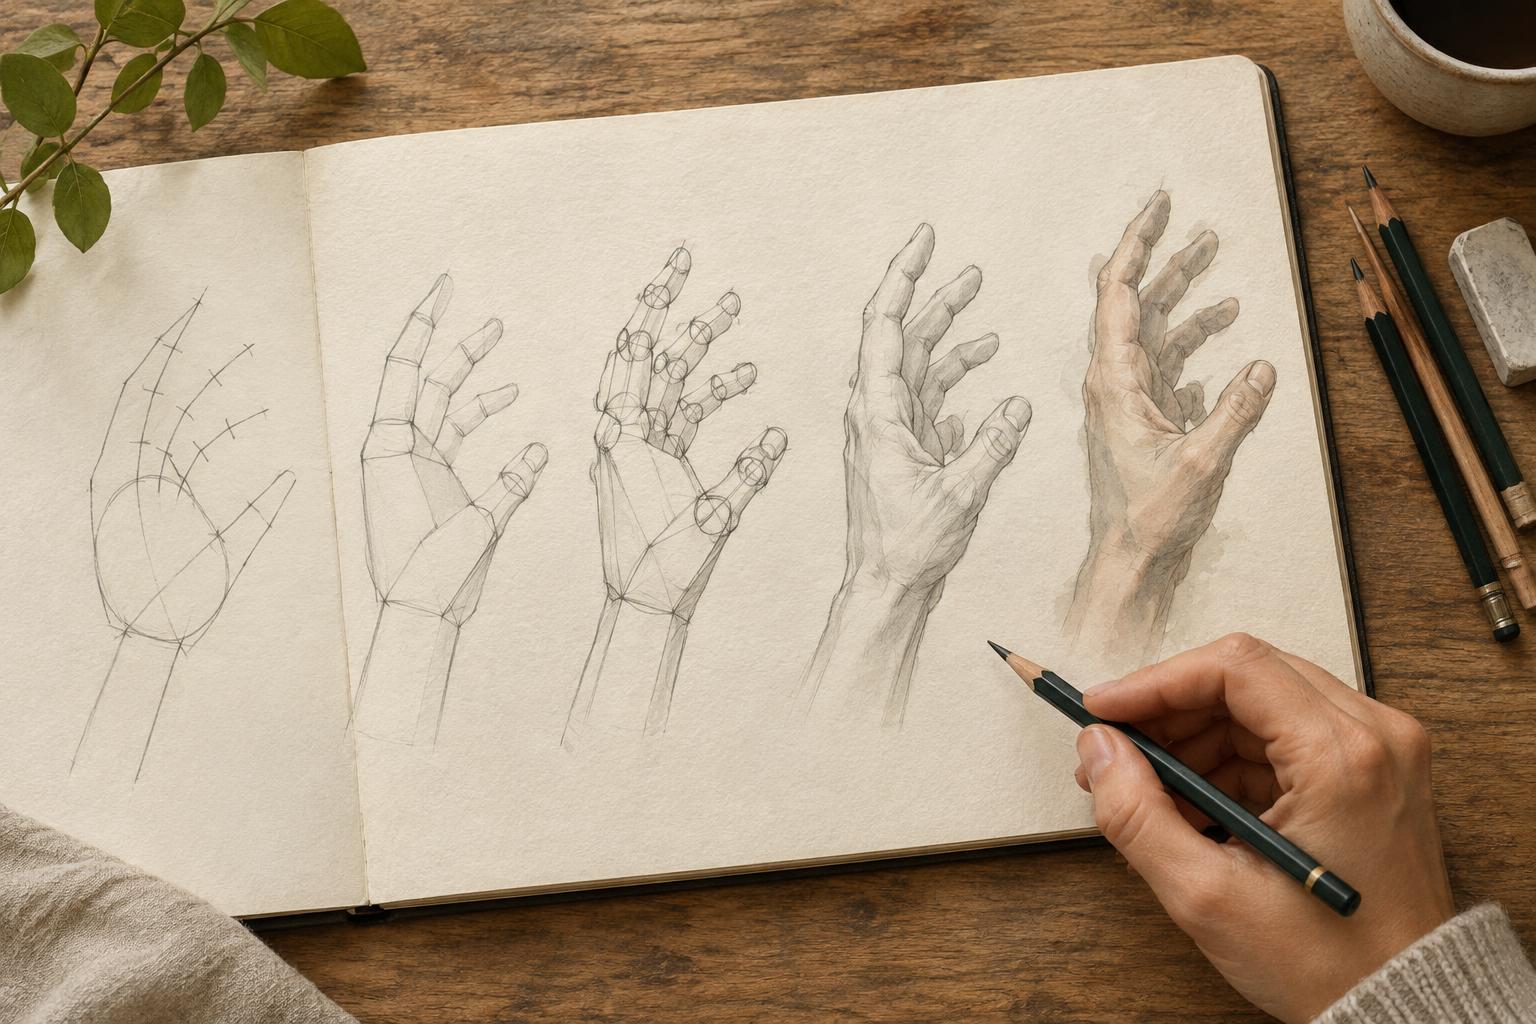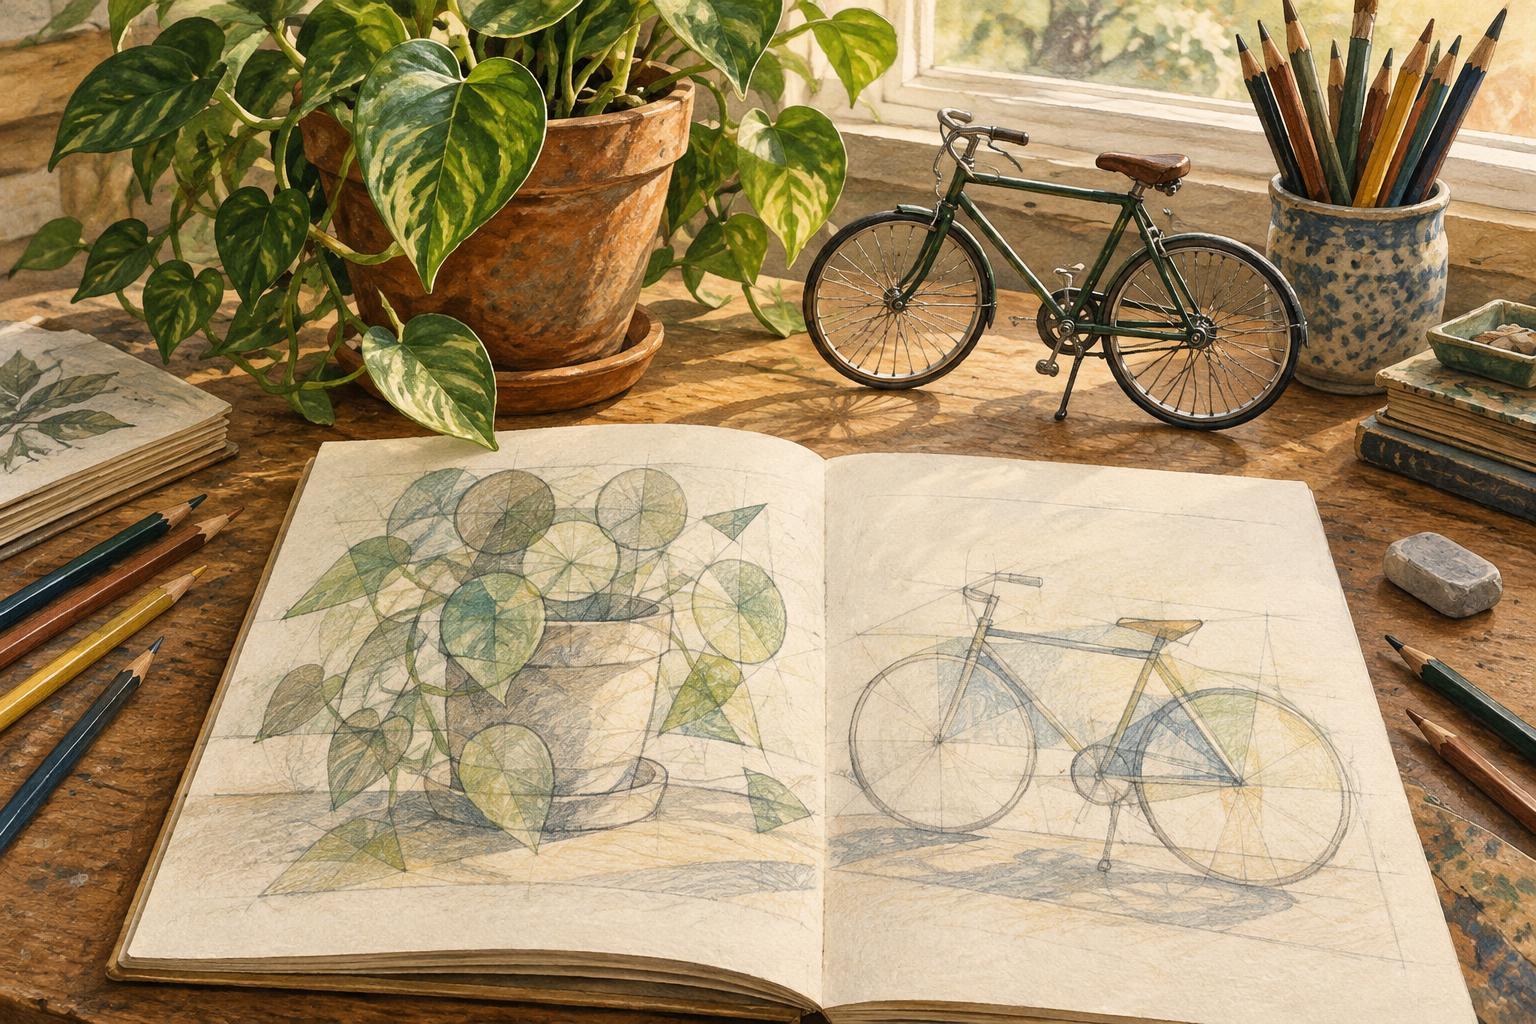
Start with the whole, not the pieces
A complex subject rarely arrives as a neat collection of circles and rectangles. A bicycle has thin lines crossing open spaces; a houseplant has leaves pointing in many directions. Trying to draw every visible part at once can make it difficult to judge where anything belongs. Instead, begin by asking what shape the entire subject occupies on the page. Is it tall and narrow, low and wide, or nearly square?
Lightly mark the subject’s outermost points: top, bottom, left and right. Then connect those points with a loose outline. This is an envelope, not a finished contour. It gives you a boundary within which to place smaller forms. Leave room around it, and compare its height with its width before moving on. A quick correction here is easier than adjusting dozens of details later.
Find a few large masses
Within the envelope, look for two or three major areas of visual weight. A seated figure might read as a head, a torso and a combined shape for the legs. A teapot might begin as an oval body with a wedge for the spout and a loop for the handle. These shapes do not need to describe the subject perfectly. Their job is to show where its main parts sit and how much space each part takes up.
Choose a simple form that helps you think, but do not force the subject to fit a symbol. A tilted book may be easier to place as a four-sided shape than as a perfect rectangle. A crumpled jacket may first read as one uneven mass. Draw lightly enough to change your mind. If a shape is hard to name, look at its overall direction and size rather than searching for a familiar object to compare it with.
Compare relationships instead of guessing sizes
Basic shapes become useful when you compare them. Ask whether the largest mass is twice as wide as the smallest, whether one edge lines up with another, and how much space separates two parts. You can use your pencil as a visual guide: hold it at arm’s length, align it with an edge or span, and compare that measure with another part of the same subject. Keep your arm and viewing position steady while making each comparison.
Angles matter as much as lengths. A box seen from above may have a top plane that looks shallow, while its sides appear taller. If you replace what you see with the rectangle you expect, the drawing can flatten. Sketch the visible slants first, then use them to place the simpler shapes. Likewise, check where one form overlaps another. Overlap tells the viewer which part is in front and can clarify a subject even before shading begins.
Use empty space as a second set of shapes
The gaps around and within a subject are called negative spaces. They can be easier to judge than the objects that surround them. On a chair, look at the opening between the back and the seat. On a plant, notice the patch of background between two stems. Sketching the shape of a gap can reveal that a leg tilts too far or a branch starts in the wrong place.
Treat these spaces as checks, not as extra details to copy. If the opening beneath a chair looks like a narrow triangle in your reference but a broad rectangle in your sketch, revisit the large shapes around it. Adjusting those shapes will often fix several smaller relationships at once. Step back from the page occasionally; a mismatch that is difficult to see up close may become obvious at a distance.
Try a ten-minute shape study
Choose a household object with several distinct parts, such as a desk lamp, a shoe or a watering can. Set it where you can see it clearly. Spend the first minute marking its outermost points and drawing an envelope. Use the next three minutes to place no more than five large shapes. For the following three, compare widths, heights, angles and the gaps between parts. Spend the final three minutes refining the outline where it departs most noticeably from what you see.
Resist adding texture, labels or shading during this exercise. The aim is not a polished picture but a readable arrangement. When the time is up, look at the object and drawing side by side. Identify one relationship that works and one that needs revision. Repeating the study with the same object from a different viewpoint can show how the useful shapes change as your view changes. Over time, this habit makes a busy subject feel less like a pile of details and more like a set of choices you can test.