Start with the edge you want
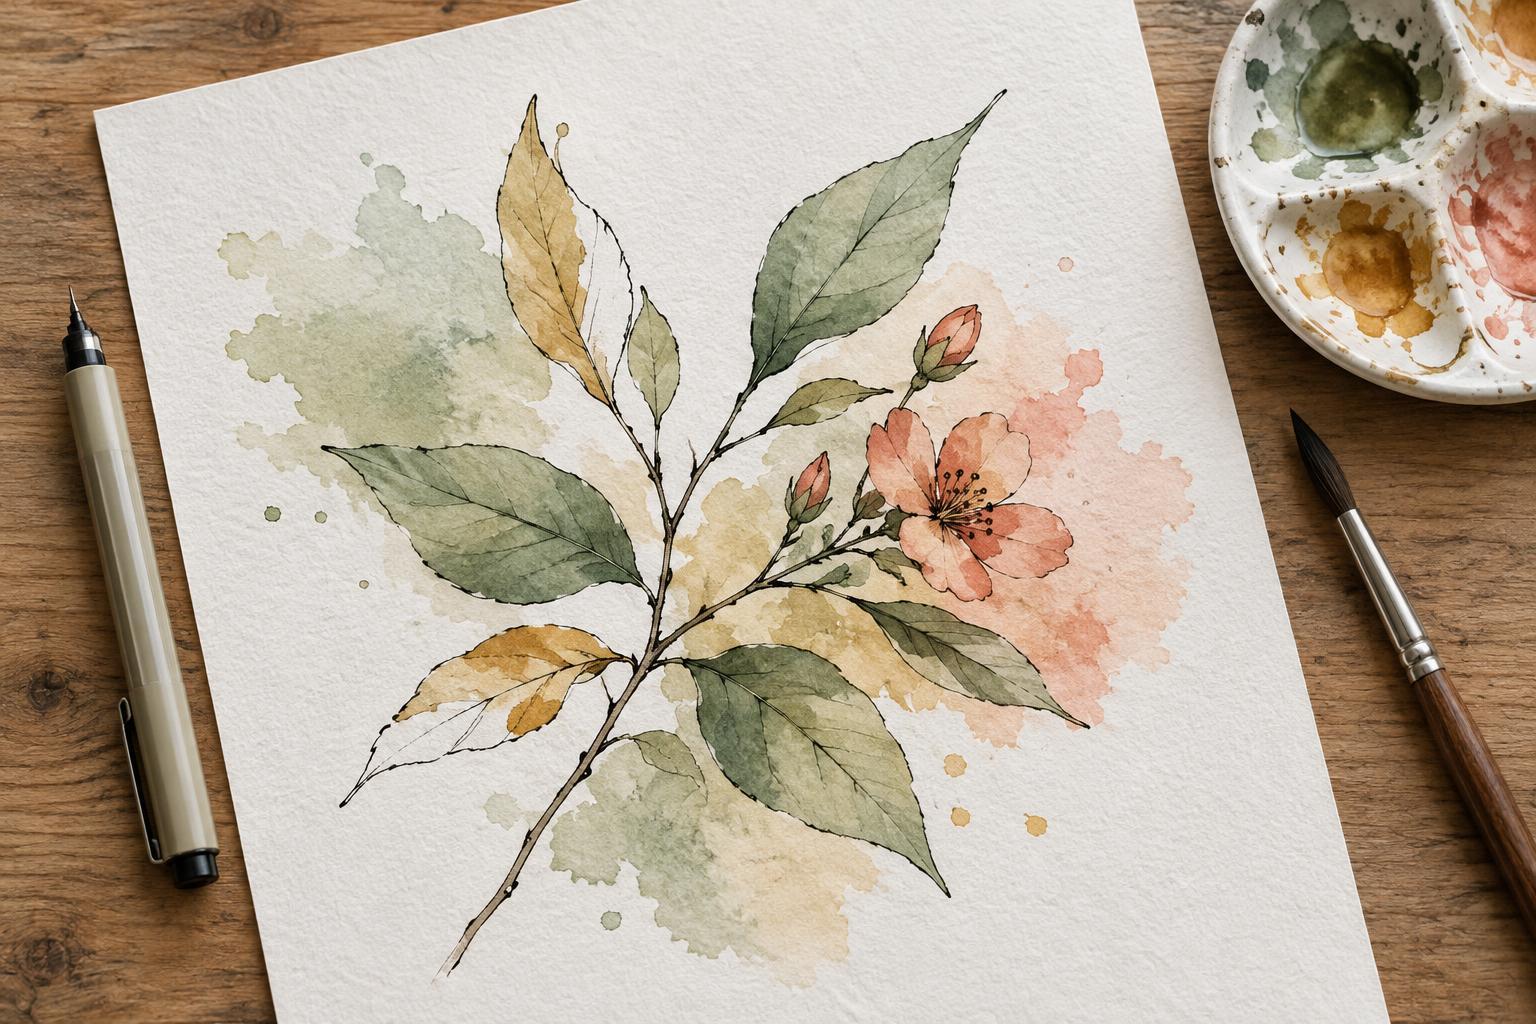
The main difference between wet-on-wet and wet-on-dry watercolor is the surface that receives the paint. For wet-on-wet, you place color onto paper that is already damp. The pigment can spread and mingle, producing soft transitions and edges that are difficult to pin down precisely. For wet-on-dry, you paint onto dry paper. The color generally stays closer to where the brush puts it, giving you a clearer edge.
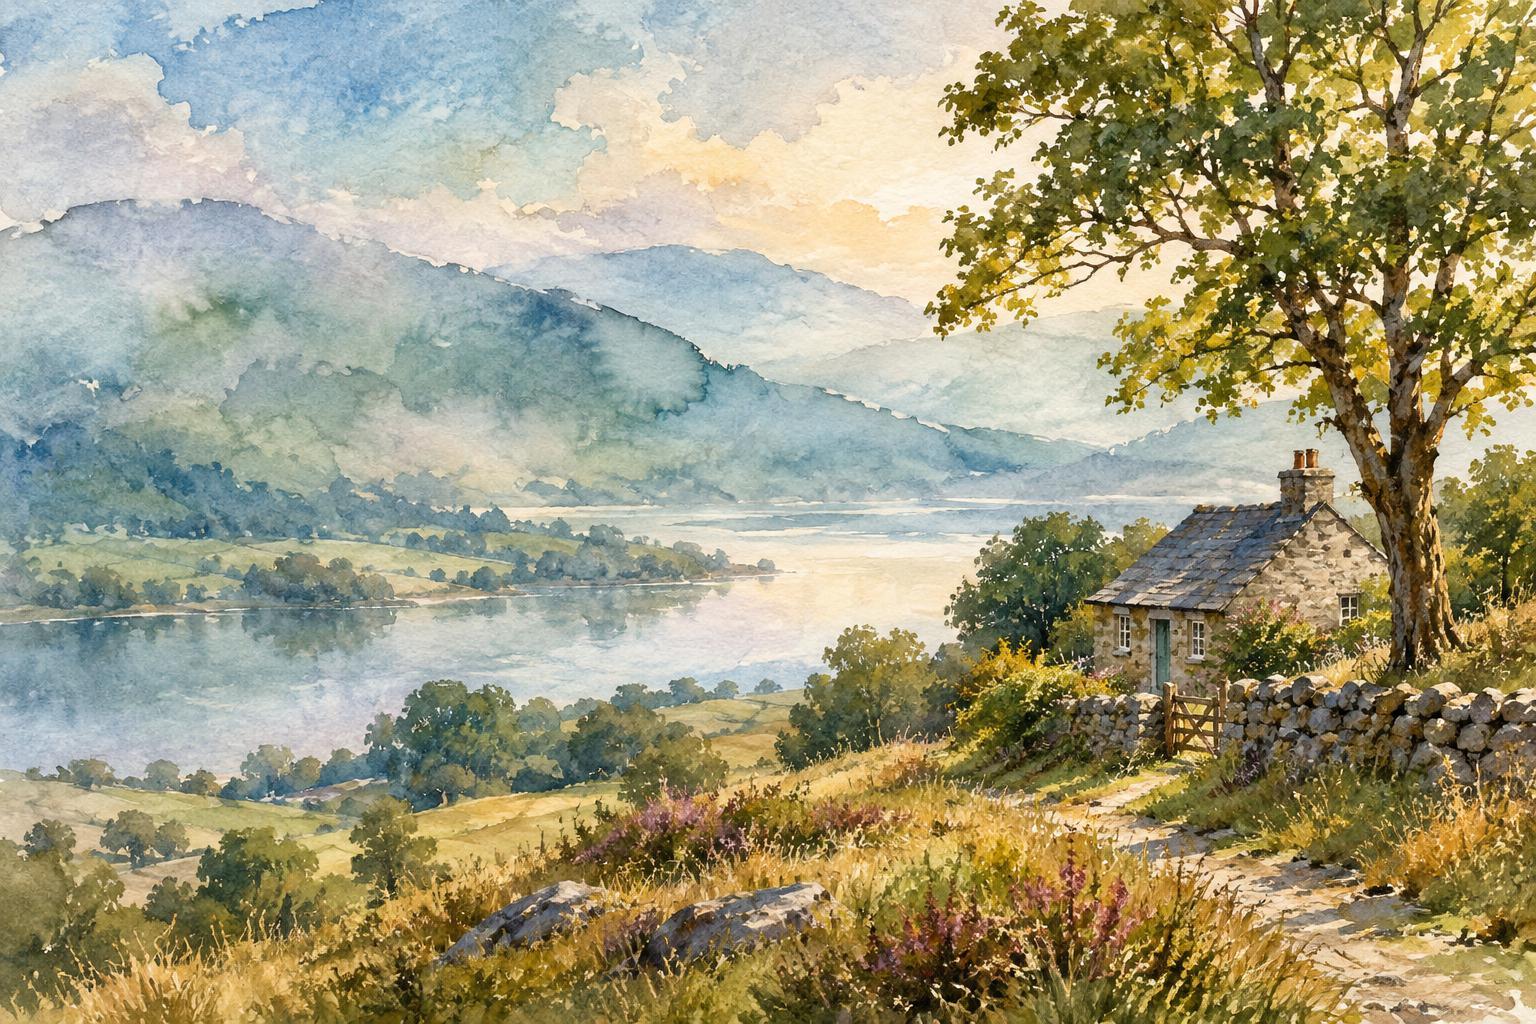
In an illustrated scene, edges do storytelling work. A soft edge can suggest distance, mist, reflected light, or a shape that matters less than its surroundings. A sharp edge can identify a character, separate overlapping objects, or draw attention to a small but important prop. Neither method is inherently more expressive. The useful question is: what should the viewer notice first, and what can remain open to interpretation?
Use wet-on-wet to establish atmosphere
Wet-on-wet is well suited to passages that need to feel connected: a cloudy sky, a shadow spreading across a wall, or color shifting across a distant hillside. Begin with clean water in the area you want to paint. Aim for an even sheen rather than puddles, then touch in diluted color and watch how far it travels. A wetter surface usually allows more movement; as the sheen fades, marks tend to spread less.
Suppose you are illustrating a figure waiting at a bus stop in the rain. A damp wash can join the sky, distant buildings, and pavement in a shared gray-blue mood. You do not need to describe every window in the background. A few softened shapes may give the setting enough structure while leaving room for the figure to stand out later.
Plan the boundaries of the wash before adding water. If the foreground figure needs a clean silhouette, leave its shape dry or allow the background to dry before painting over it. Paper, pigment, and room conditions all affect how quickly a wash dries, so test a small area and respond to what you see rather than relying on a fixed number of minutes.
Use wet-on-dry to make shapes readable
Wet-on-dry offers more control when an object needs a recognizable outline. It can define the curve of an umbrella, the edge of a doorway, or the hand holding a letter. Load the brush with enough paint to carry a stroke without repeatedly scrubbing the paper. For a flat shape, work steadily while its painted edge remains moist; for separate marks, let each one dry before placing another nearby if you want them to stay distinct.
Crisp does not have to mean uniformly dark or heavily outlined. A pale, clean-edged window can read clearly against a darker wall. Within one object, you can vary the edges: make the side nearest the viewer firm and allow a shadow side to merge with its surroundings. That variation keeps the scene from looking like a collection of cut-out pieces.
If you plan to add ink or small painted details, let the underlying wash dry first. A page that feels cool to the touch may still hold moisture. Testing a discreet corner before drawing across an important face or focal object can prevent an unwanted blur.
Combine the methods in a simple painting order
A helpful sequence is to move from broad relationships to specific information. First, sketch the largest shapes lightly and choose a focal point. Next, paint a wet-on-wet passage where you want atmosphere or a gentle transition. Let it dry. Then use wet-on-dry marks to clarify the objects that carry the scene: the person at the stop, the sign beside them, and perhaps one bright reflection on the pavement.
You can reverse that order in selected areas. A dry, clearly painted roofline might be followed by a damp glaze across the sky, provided you can keep the water away from any marks you do not want to disturb. Watercolor layers can lift or bleed when rewetted, especially if the earlier paint has not dried thoroughly. Work with a light touch and try the sequence on a scrap of the same paper when the result matters.
Before adding another detail, step back and look at the scene at a small size. If the focal point is readable, extra sharp marks in the background may compete with it. Save your strongest contrast and clearest edges for the parts that explain the action.
Try an edge-mapping exercise
Draw the same small scene twice: a character beside a window, with a few objects outside. In the first version, dampen the exterior view and paint its colors wet-on-wet. Paint the character and window frame wet-on-dry after the background has dried. In the second, paint nearly everything on dry paper. Keep the composition and colors similar so the difference in edges is easy to see.
Compare where your eye goes in each version. Does the softer view outside help the character feel closer? Do any sharp background details pull attention away from the story? Circle one edge you would soften and one you would sharpen in a third attempt. This small revision turns wet-on-wet and wet-on-dry from competing techniques into choices you can make deliberately for each scene.